There are only three things you need to start a fashion blog and make money from it:
- A website
- Traffic to your website
- And monetization (sell ad space, sell other peoples products, selling your products)
This blog post will teach you how to do all three.
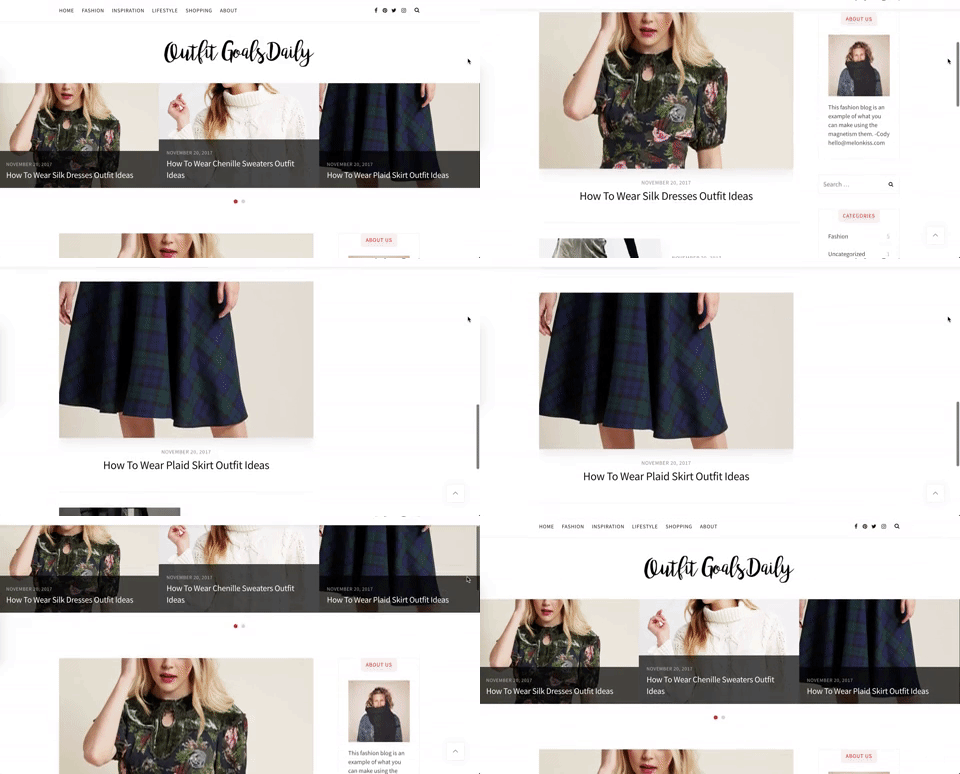
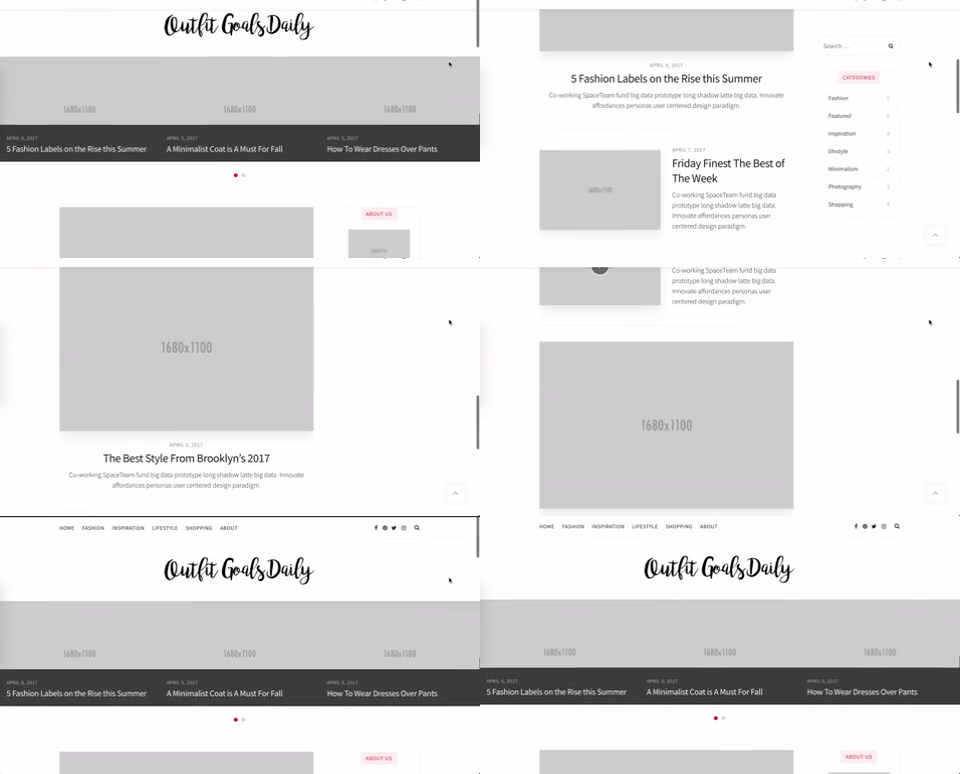
The blog we make will look like the gif below.
Check out the blog if you’d like to interact with it – Outfit Goals Daily
Create A Fashion Blog: Simply Explained
To begin, take a deep breath. This post will explain everything step by step (with screenshots and videos! ) and if you get frustrated stop, take a break and come back.
If there is something you can’t get past I am here to help. Email hello@meloniss.com
To make a fashion blog with WordPress you’ll need:
– A Website Domain
– Website Hosting
– Install WordPress
To explain how each of these work I am going to use the analogy of a house.
A website domain is like an address, it tells people where you live. When we type a domain in our browser, we tell the browser what house to look at. And WordPress, WordPress is how we build the house and change things inside the house.
The website domain we buy from Hostgator.com.
The website hosting we also buy from Hostgator.com
WordPress is free.
In total you’ll pay $25 today for you website domain, and $10 every month for you web hosting.
What Is Website Hosting And Why Do I Need It For My Fashion Blog
Website hosting is like the rent you pay to live in a house. You pay this every month so your stuff can be stored there.
In our case, a website is stored on what are called servers. Servers are computers that run 24/7 so that your stuff (website, blog posts, photos etc) can be accessed at any time.
What Is WordPress
WordPress is like the electricity in a house. It makes everything work.
WordPress is a content management system or CMS. Most simply, it’s a computer program that allows you to make websites, pages and blog posts.
For us, each of these things will be set up Host Gator.
You will purchase your website domain, purchase your web hosting and install WordPress through Host Gator.
How To Set Up Your Fashion Blog On WordPress
To get your website domain go here – HostGator.com
To begin, click on web hosting.

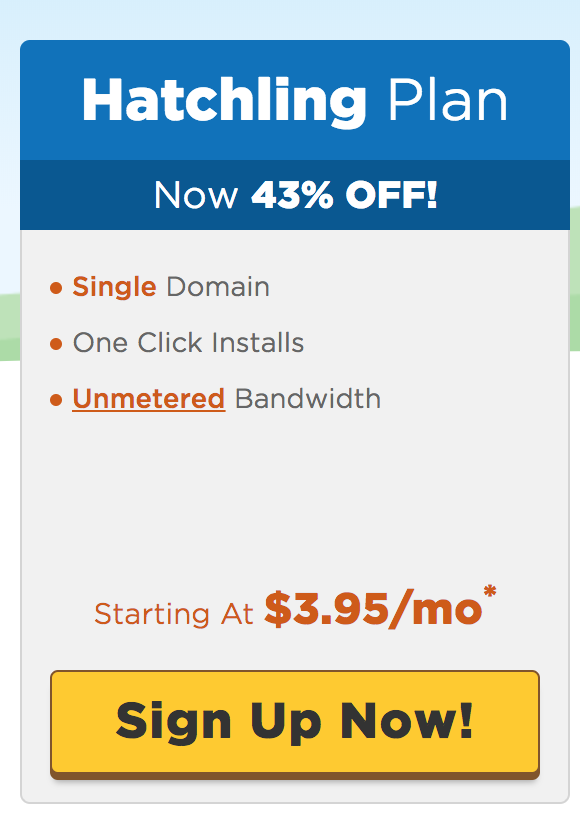
Next, select the hatchling plan.
For your website domain, use your Instagram username or whatever you like.
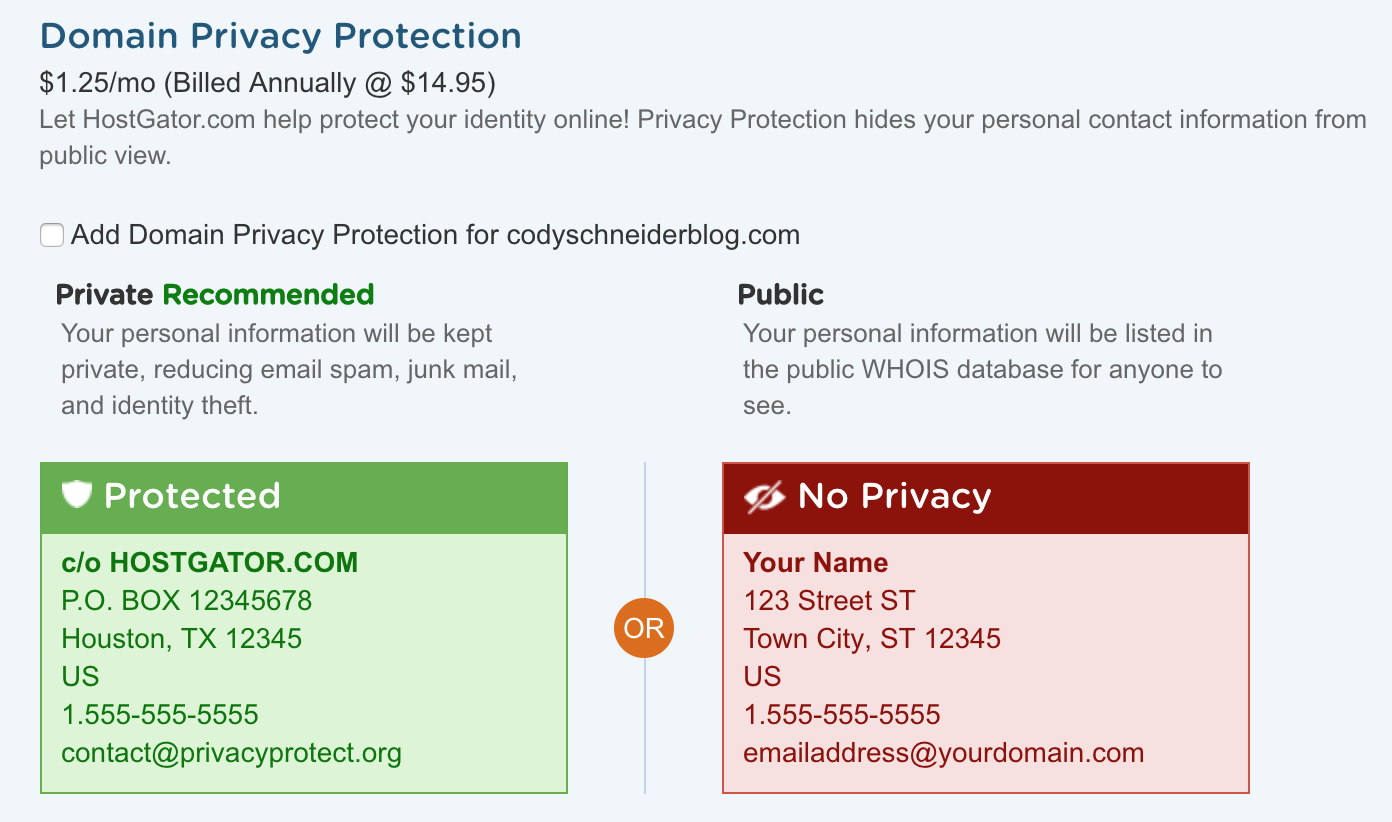
Uncheck Domain Privacy.
For your hosting change the billing cycle from 36 months to 1 month. Your hosting with Host Gator can be cancelled at any time.
*You have to pay for hosting each month. But don’t be scared, we’ll show you how to get free stuff and Melonkiss is also going to give you a voucher for $50 once you’ve made your site.

Input your billing info.
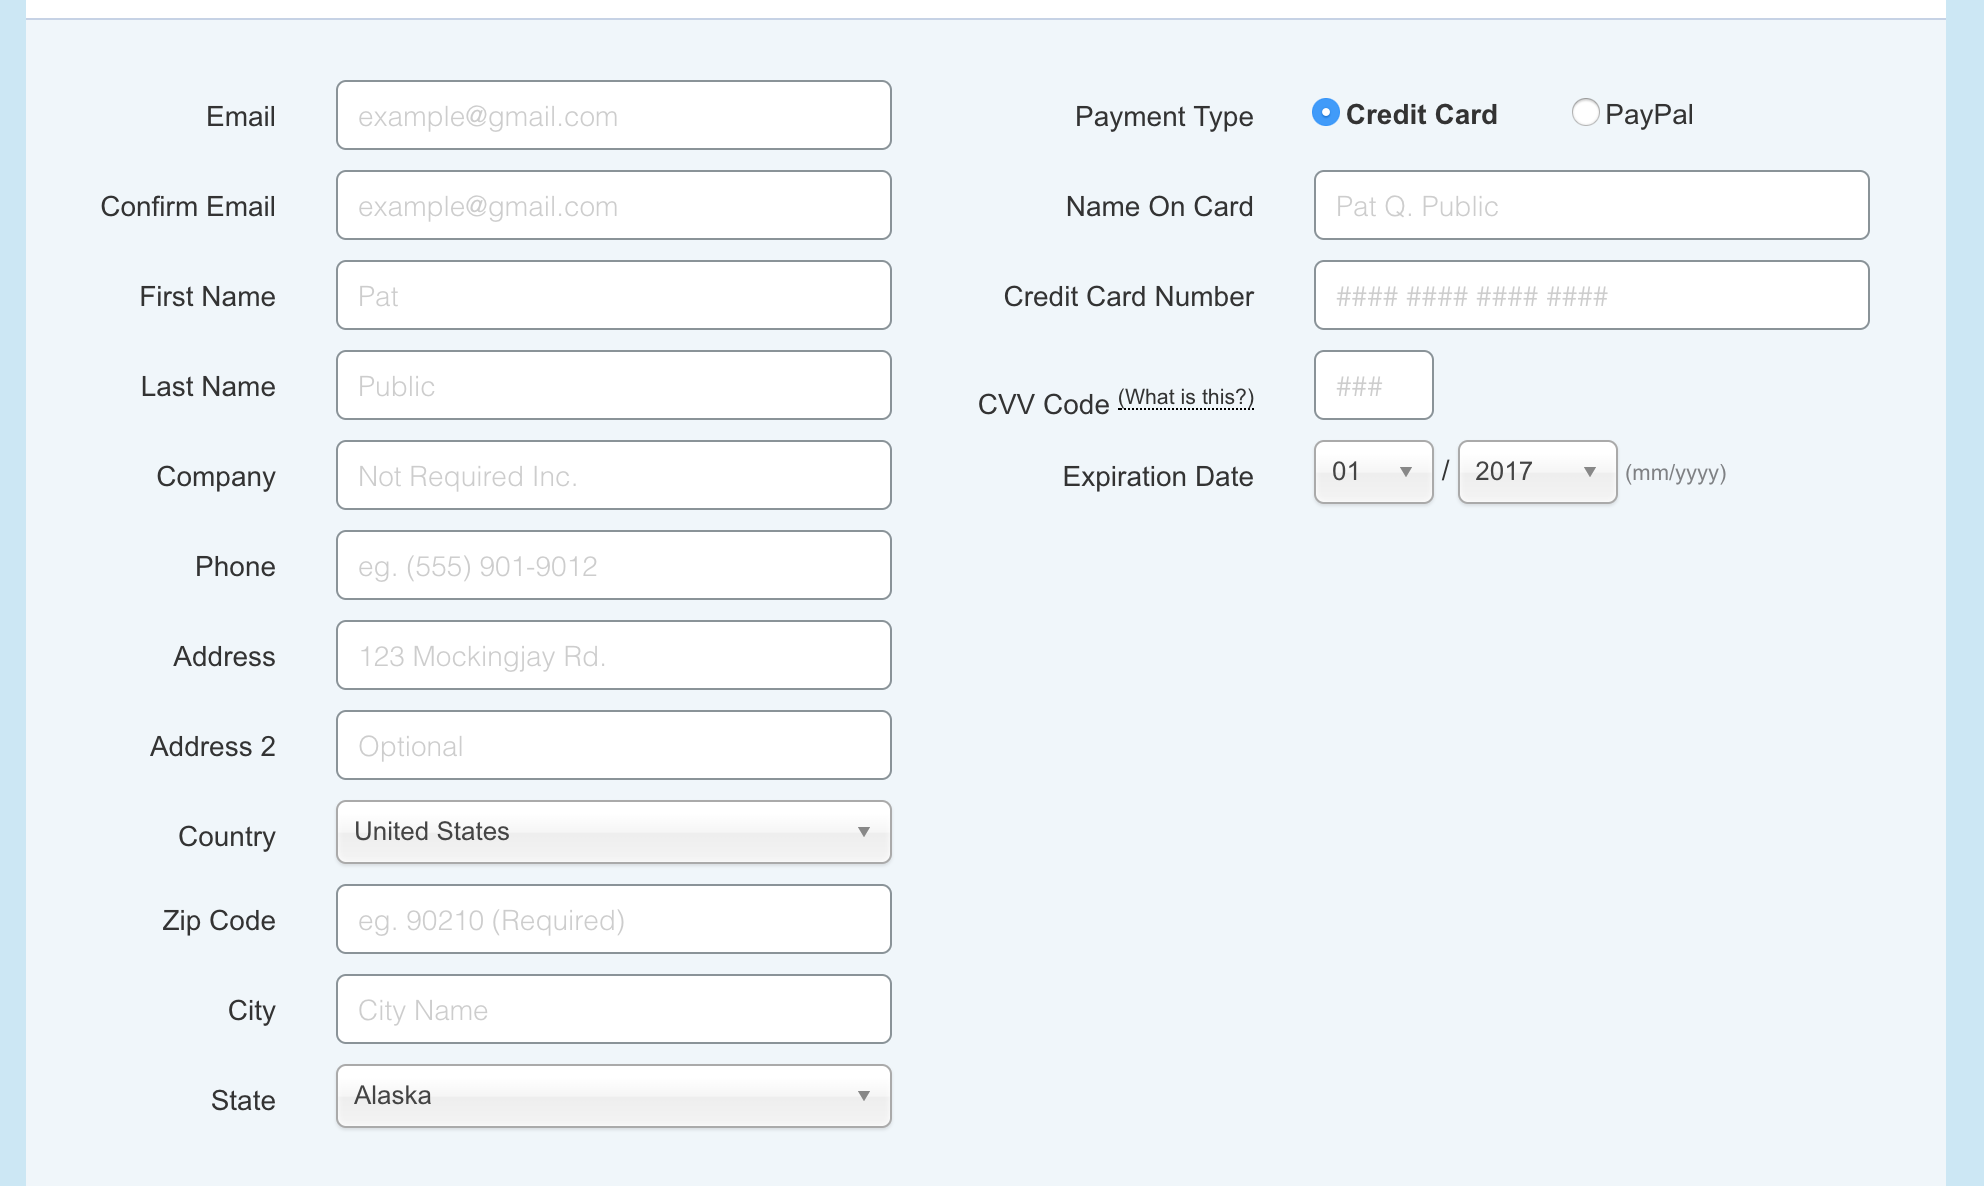
Uncheck SiteLock and Site Backup.
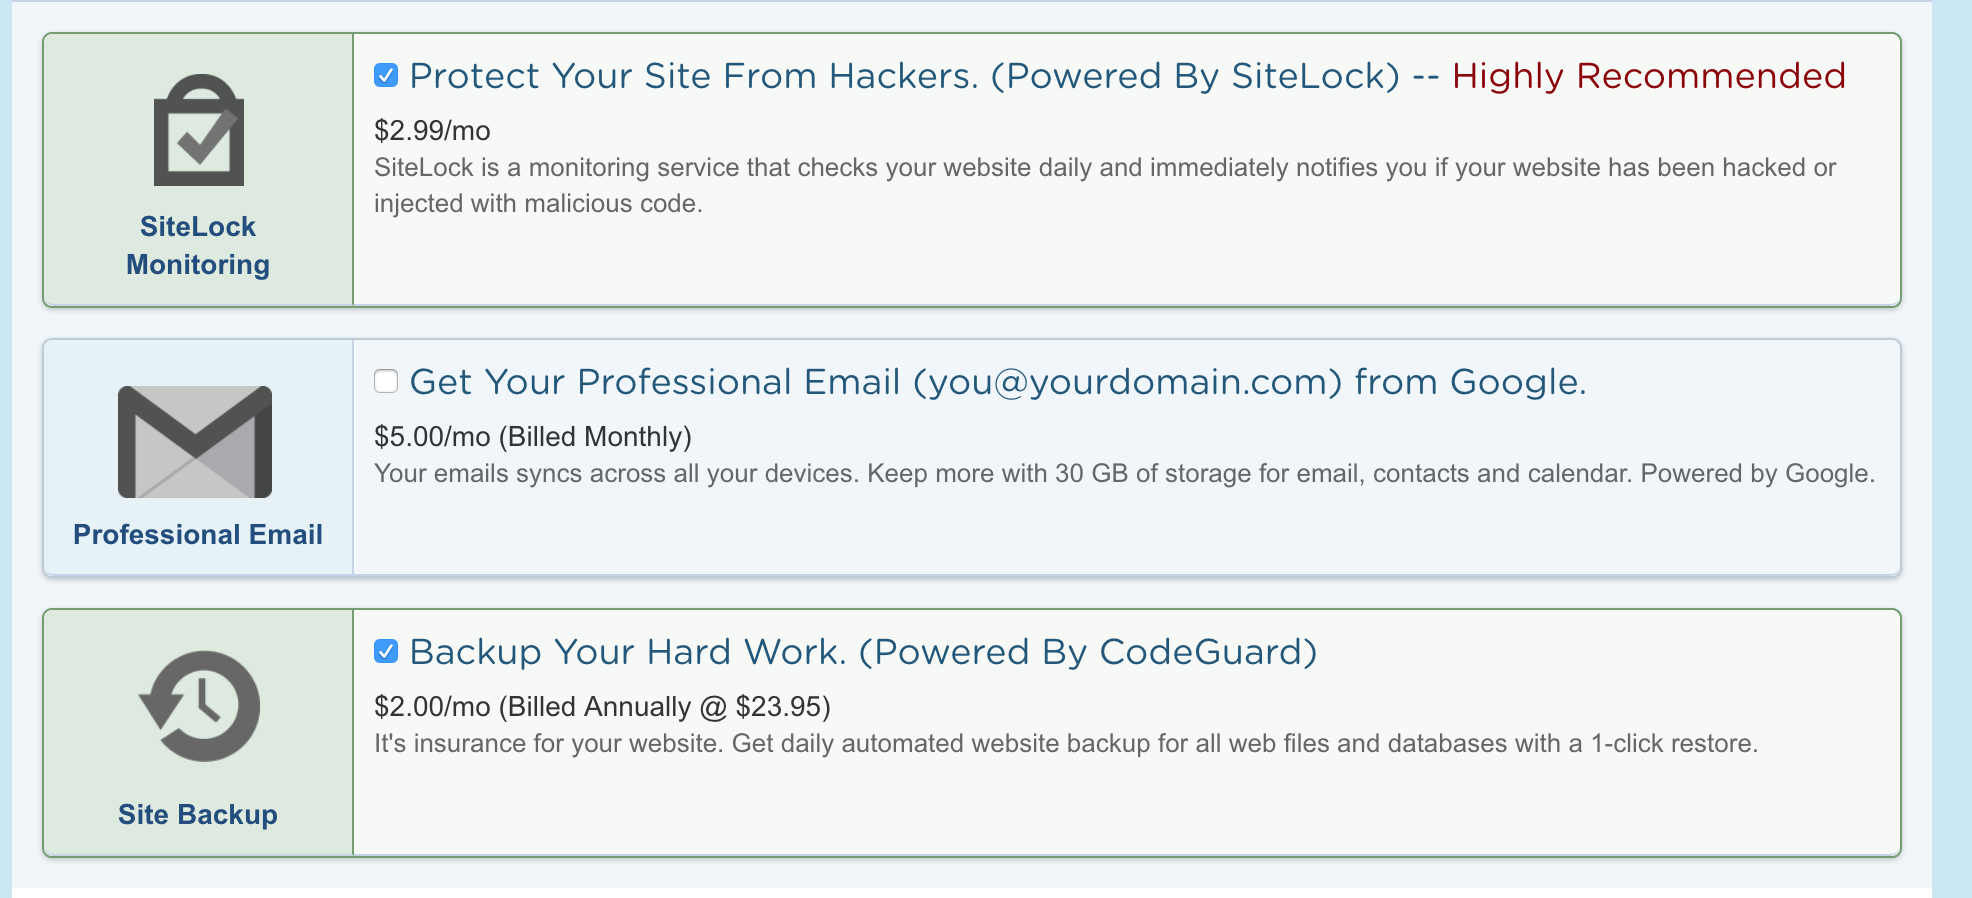
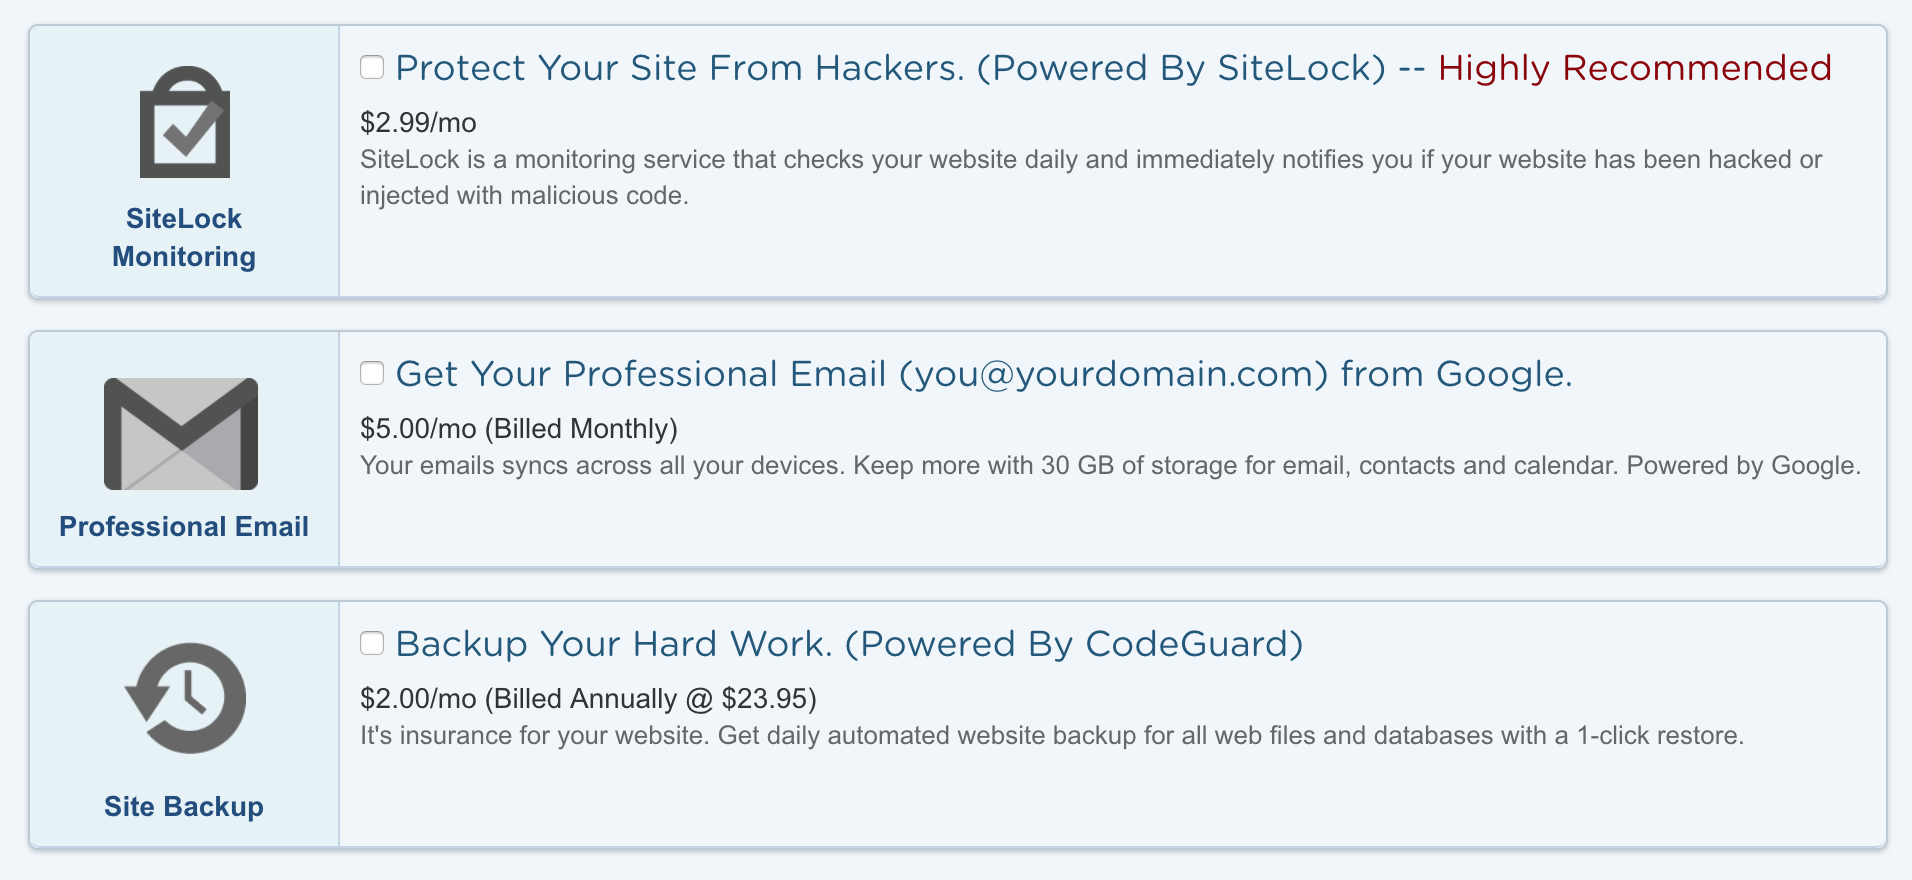
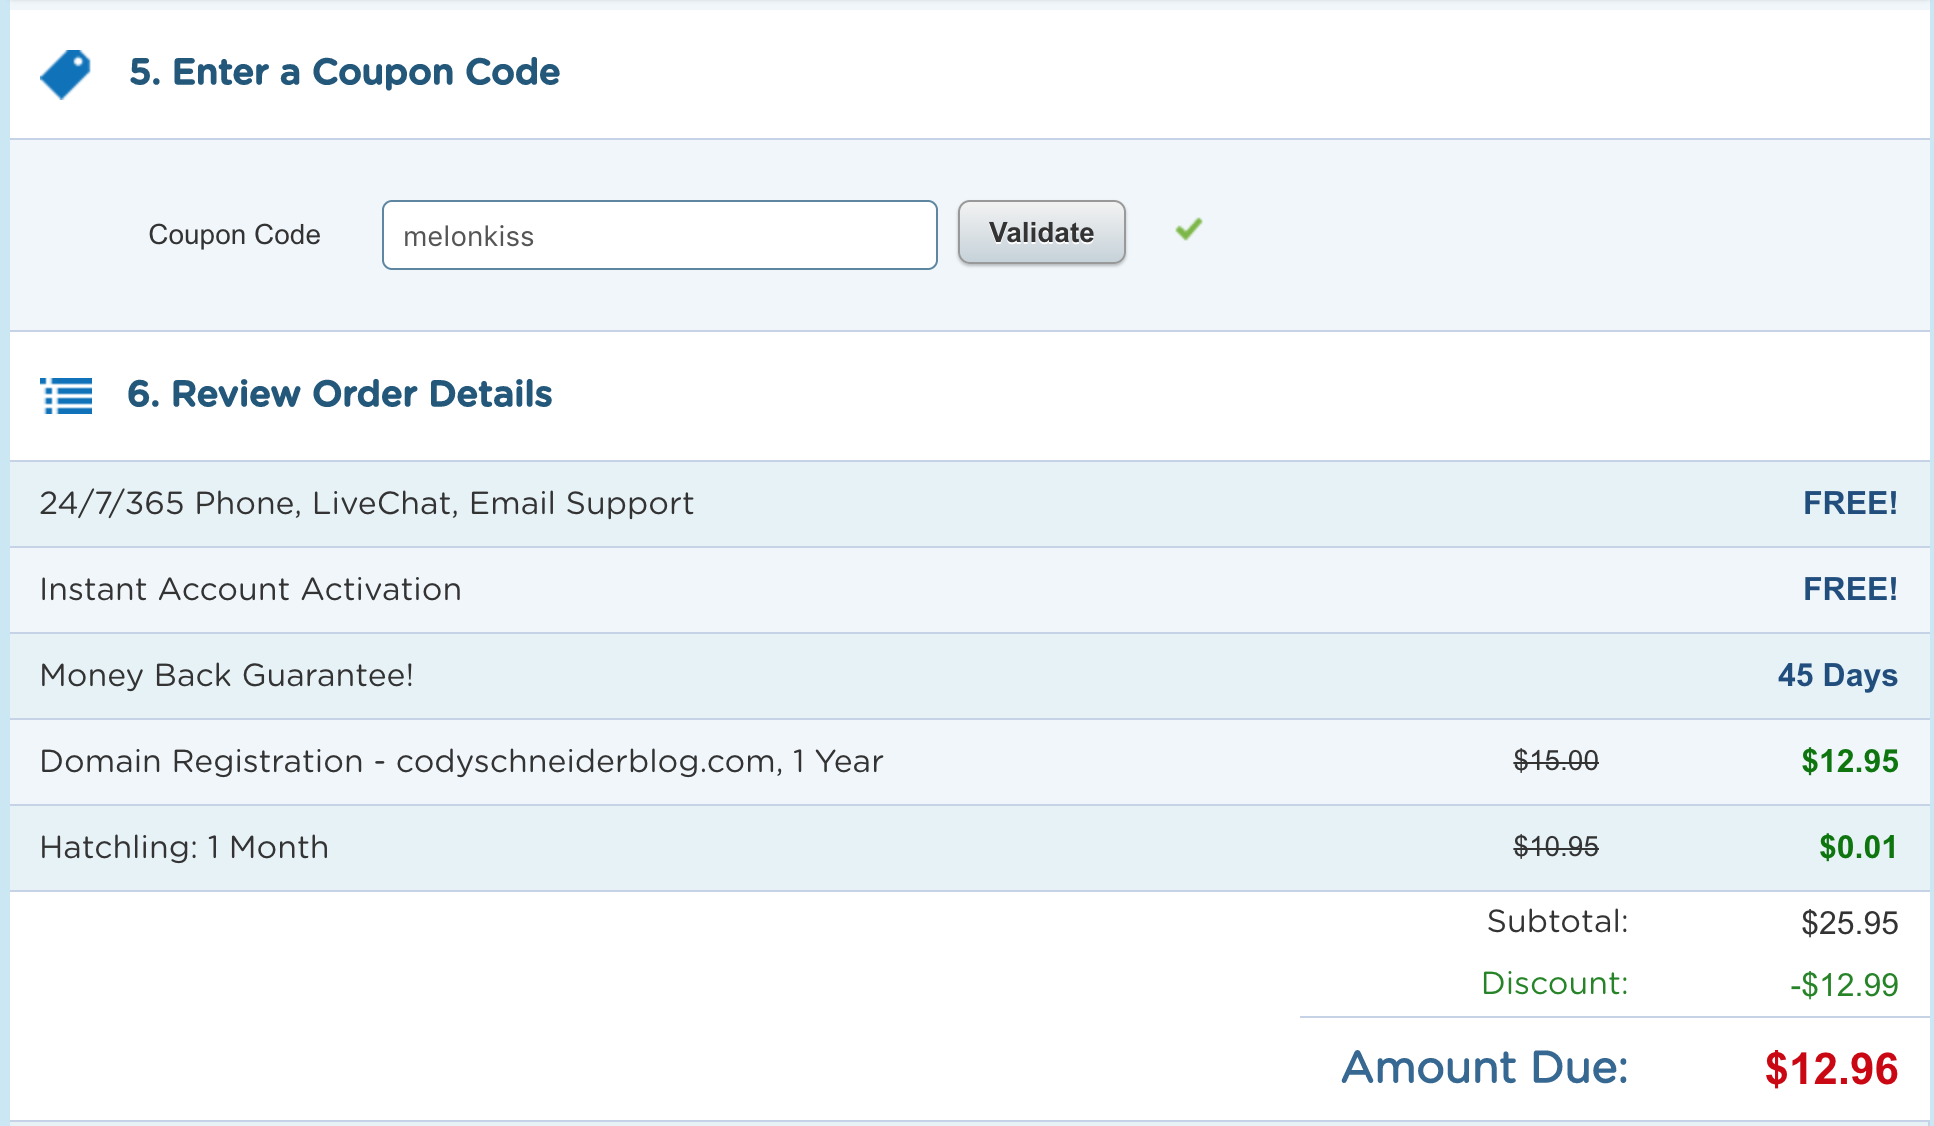
Next use the code ‘melonkiss’ to get your first month of hosting for only $0.01.
Once you’ve checked out a confirmation page will appear.
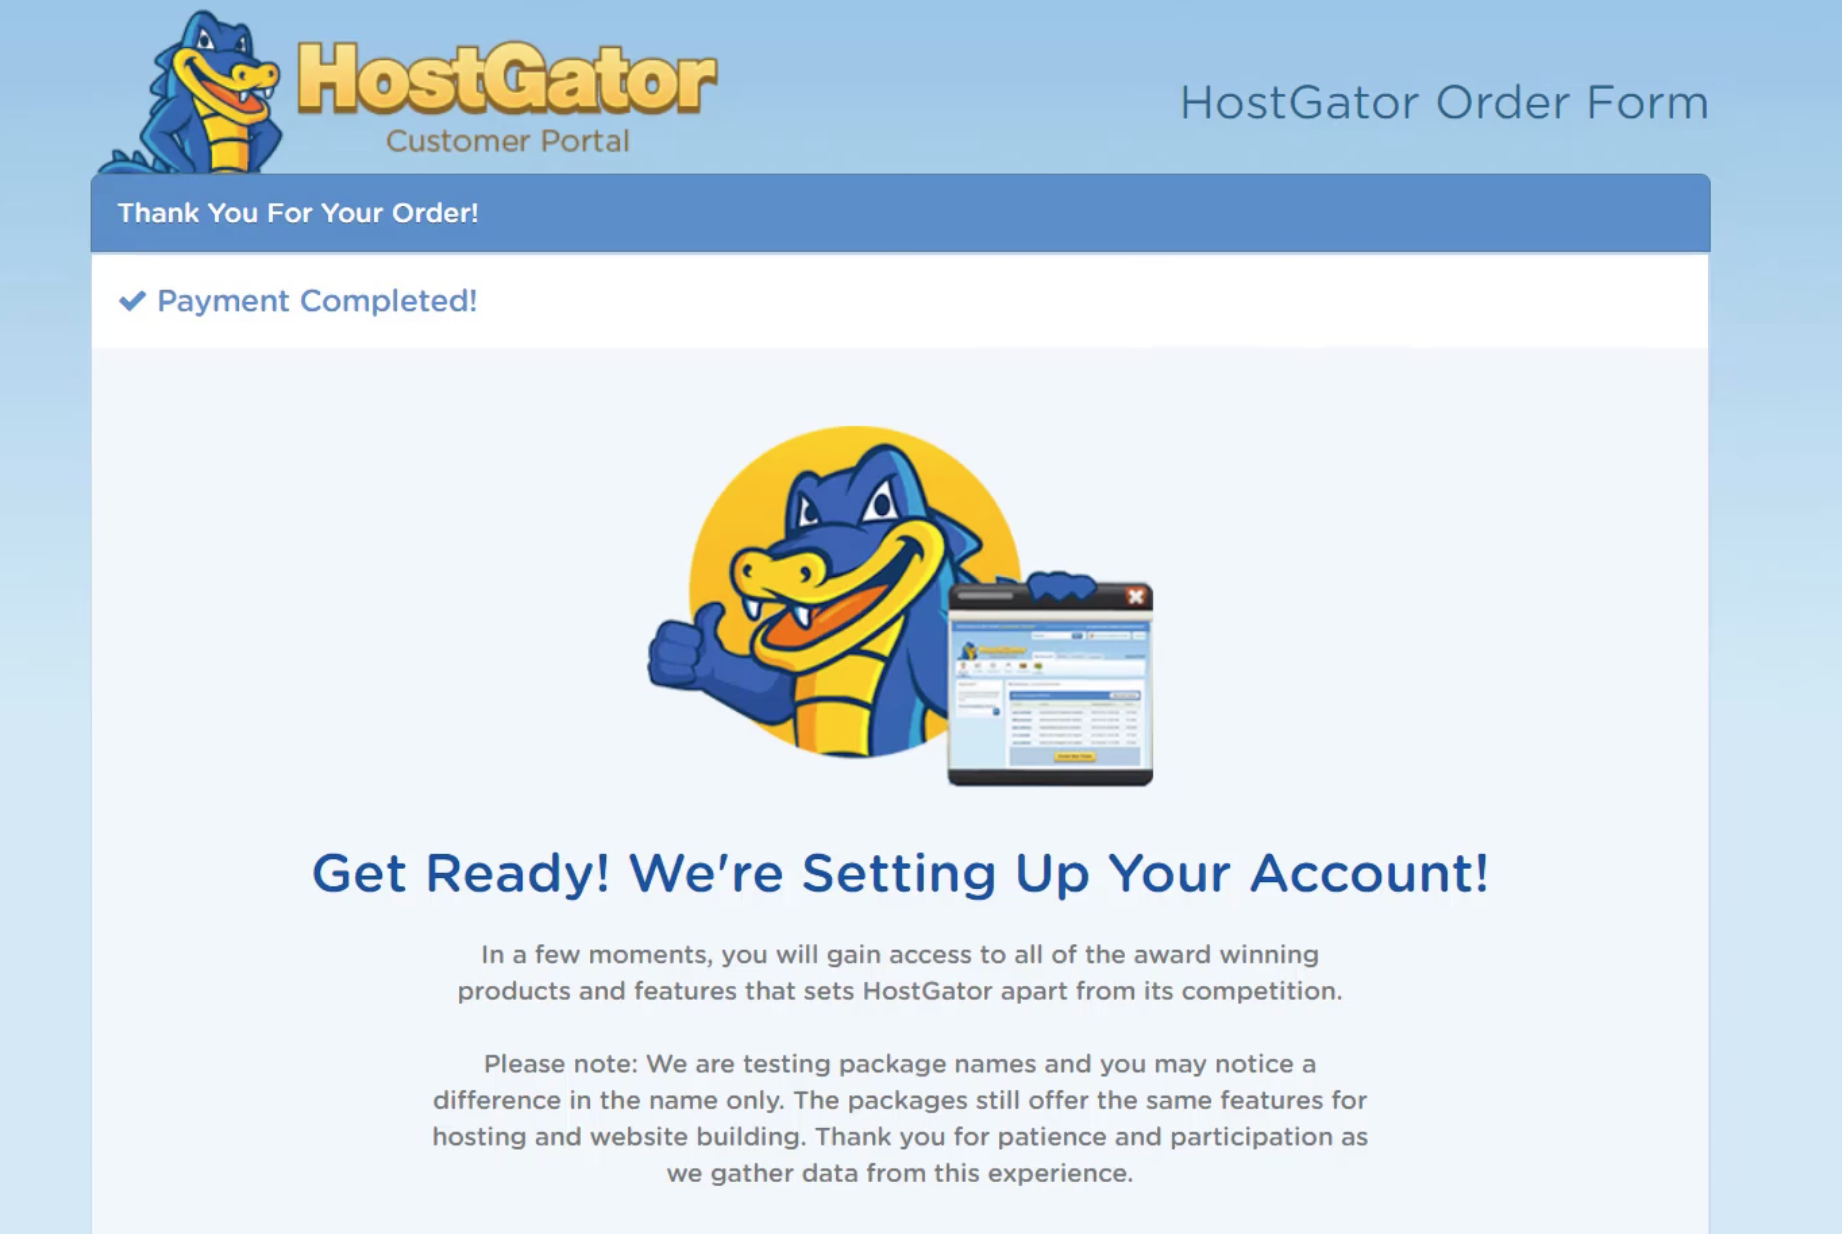
The next steps will be to check to make sure our name servers are set up correctly and install WordPress. After that, we’ll have the first glimpse of our new fashion blog : )
To set up your nameservers go to this link – https://portal.hostgator.com/login
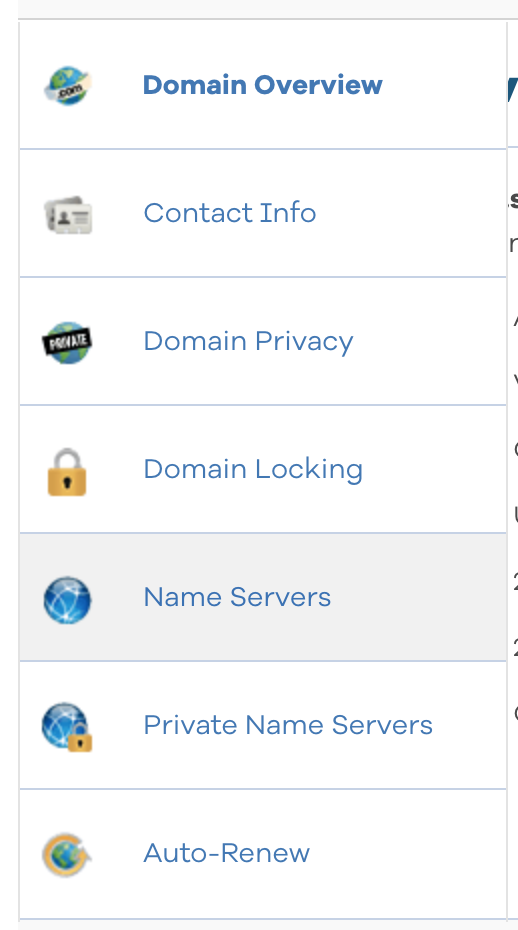
Once logged in click on domains.
Then select your domain and click the nameservers option.
Then make sure the setting ‘Automatically point…’ is active.
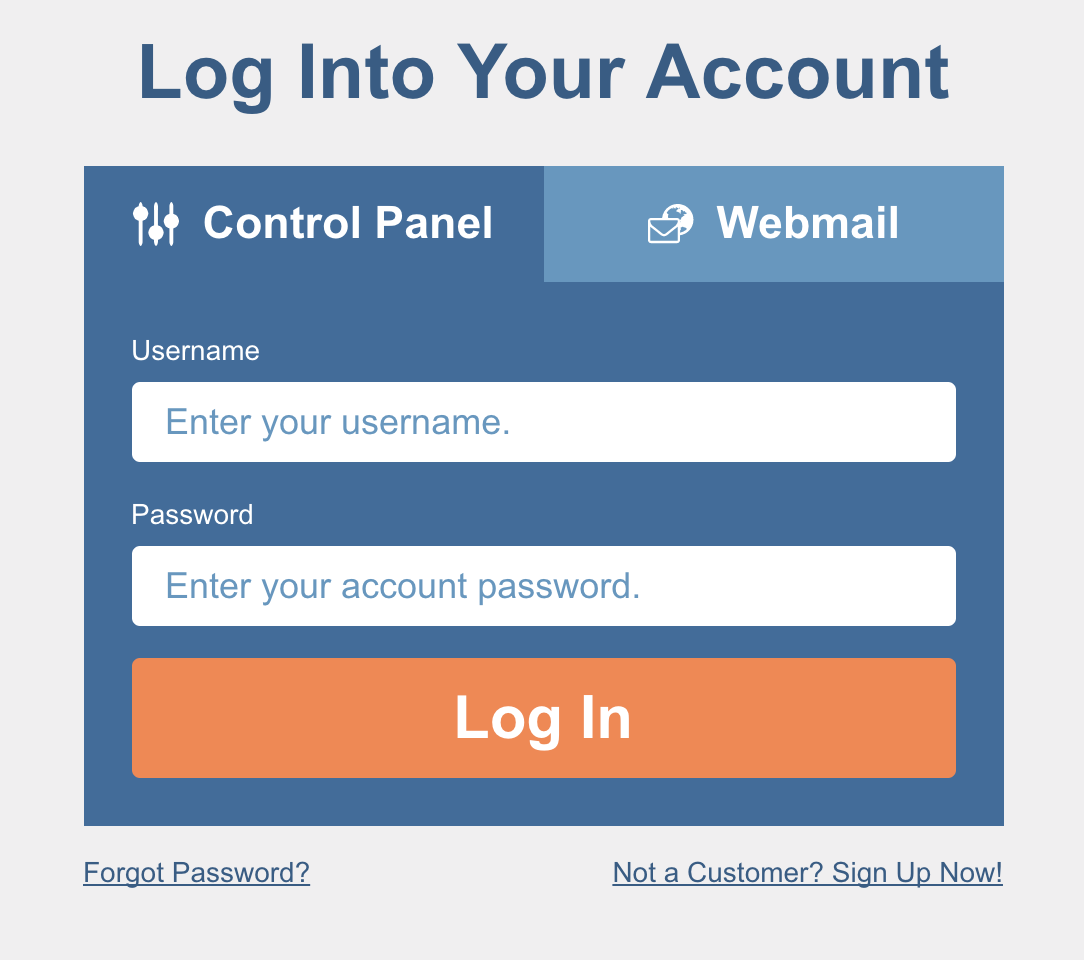
Once your nameservers are set up, we will go to your Cpanel. Your Cpanel Login info will have been emailed to you and the URL will look something like this.
Log in through the URL using the username and password provided.
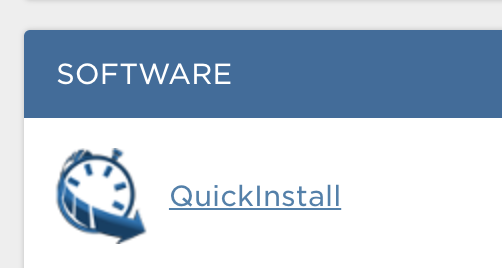
Once logged in go to the software section and click quickinstall.
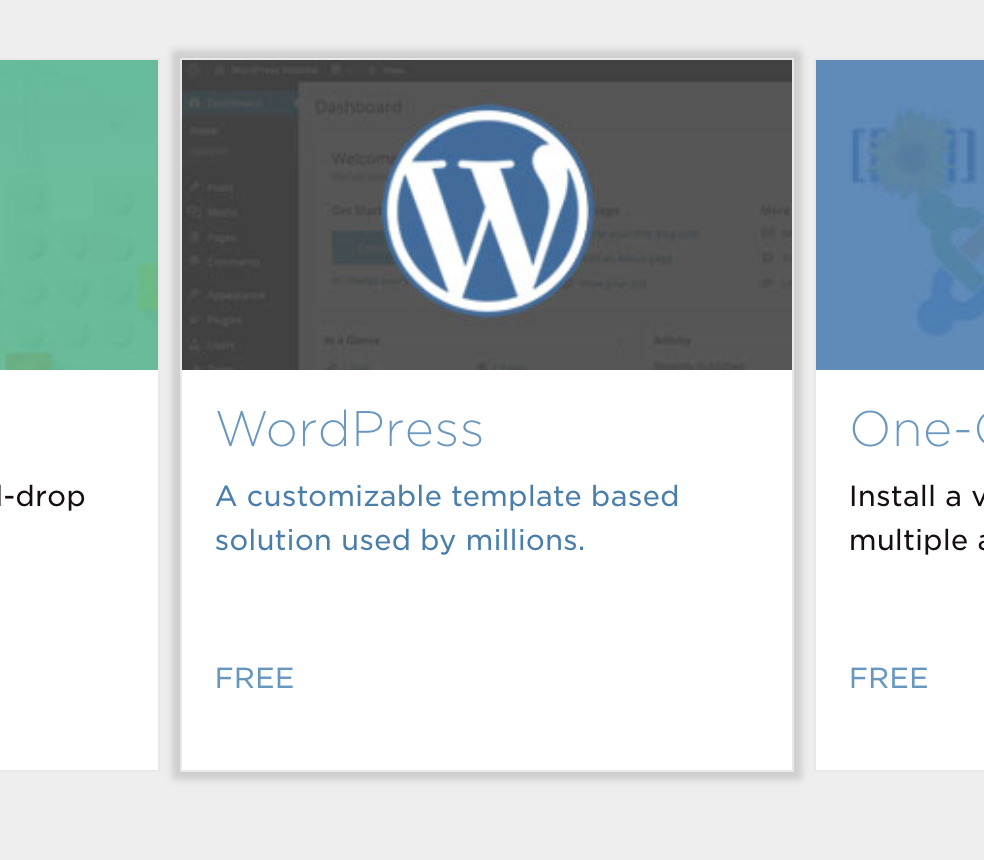
On the next page select the WordPress option in the middle.
Then select the domain you just purchased and click next.
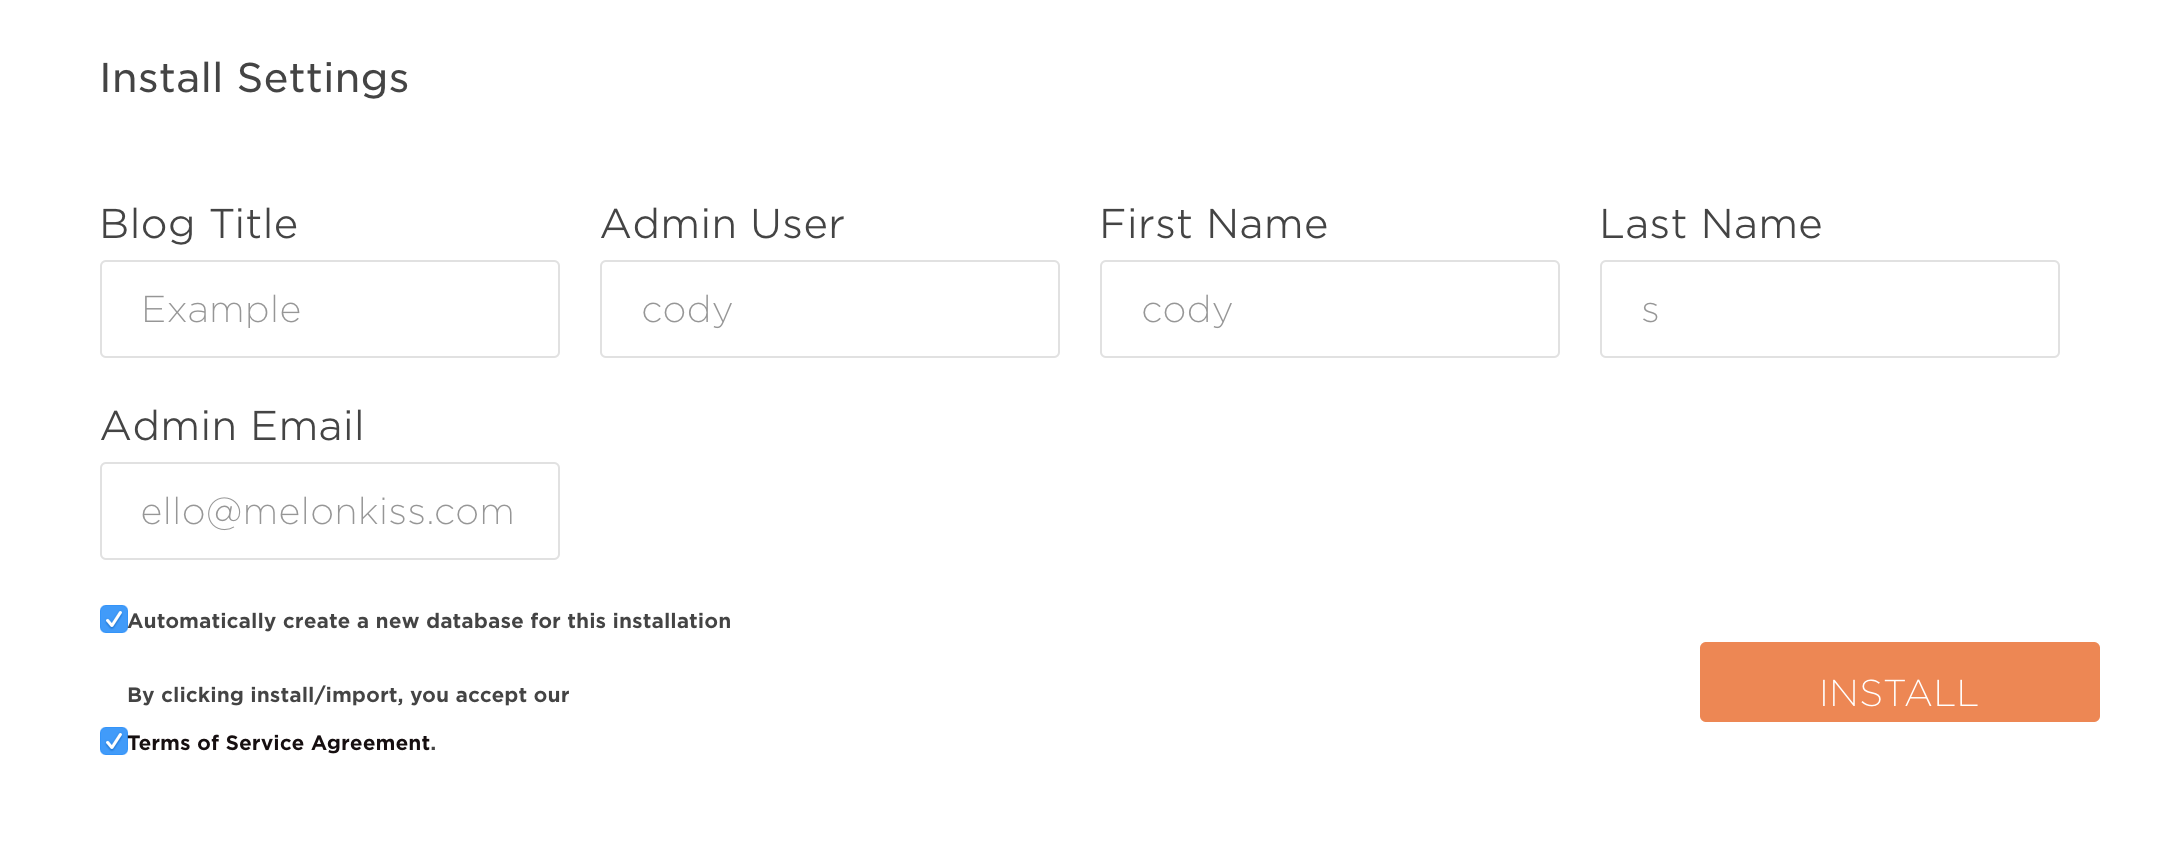
Next fill out the install settings info and click install.
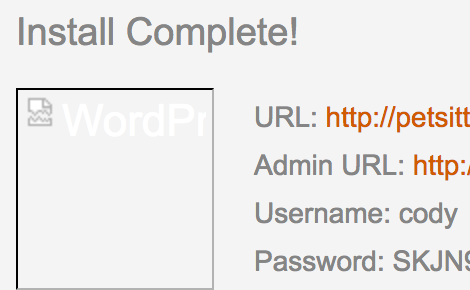
You’ll then receive an email saying Install Complete! and it will include your username and password for NEW WordPress fashion blog.
Congrats, you just made yourself way more valuable to brands and created so many more opportunities for yourself : )
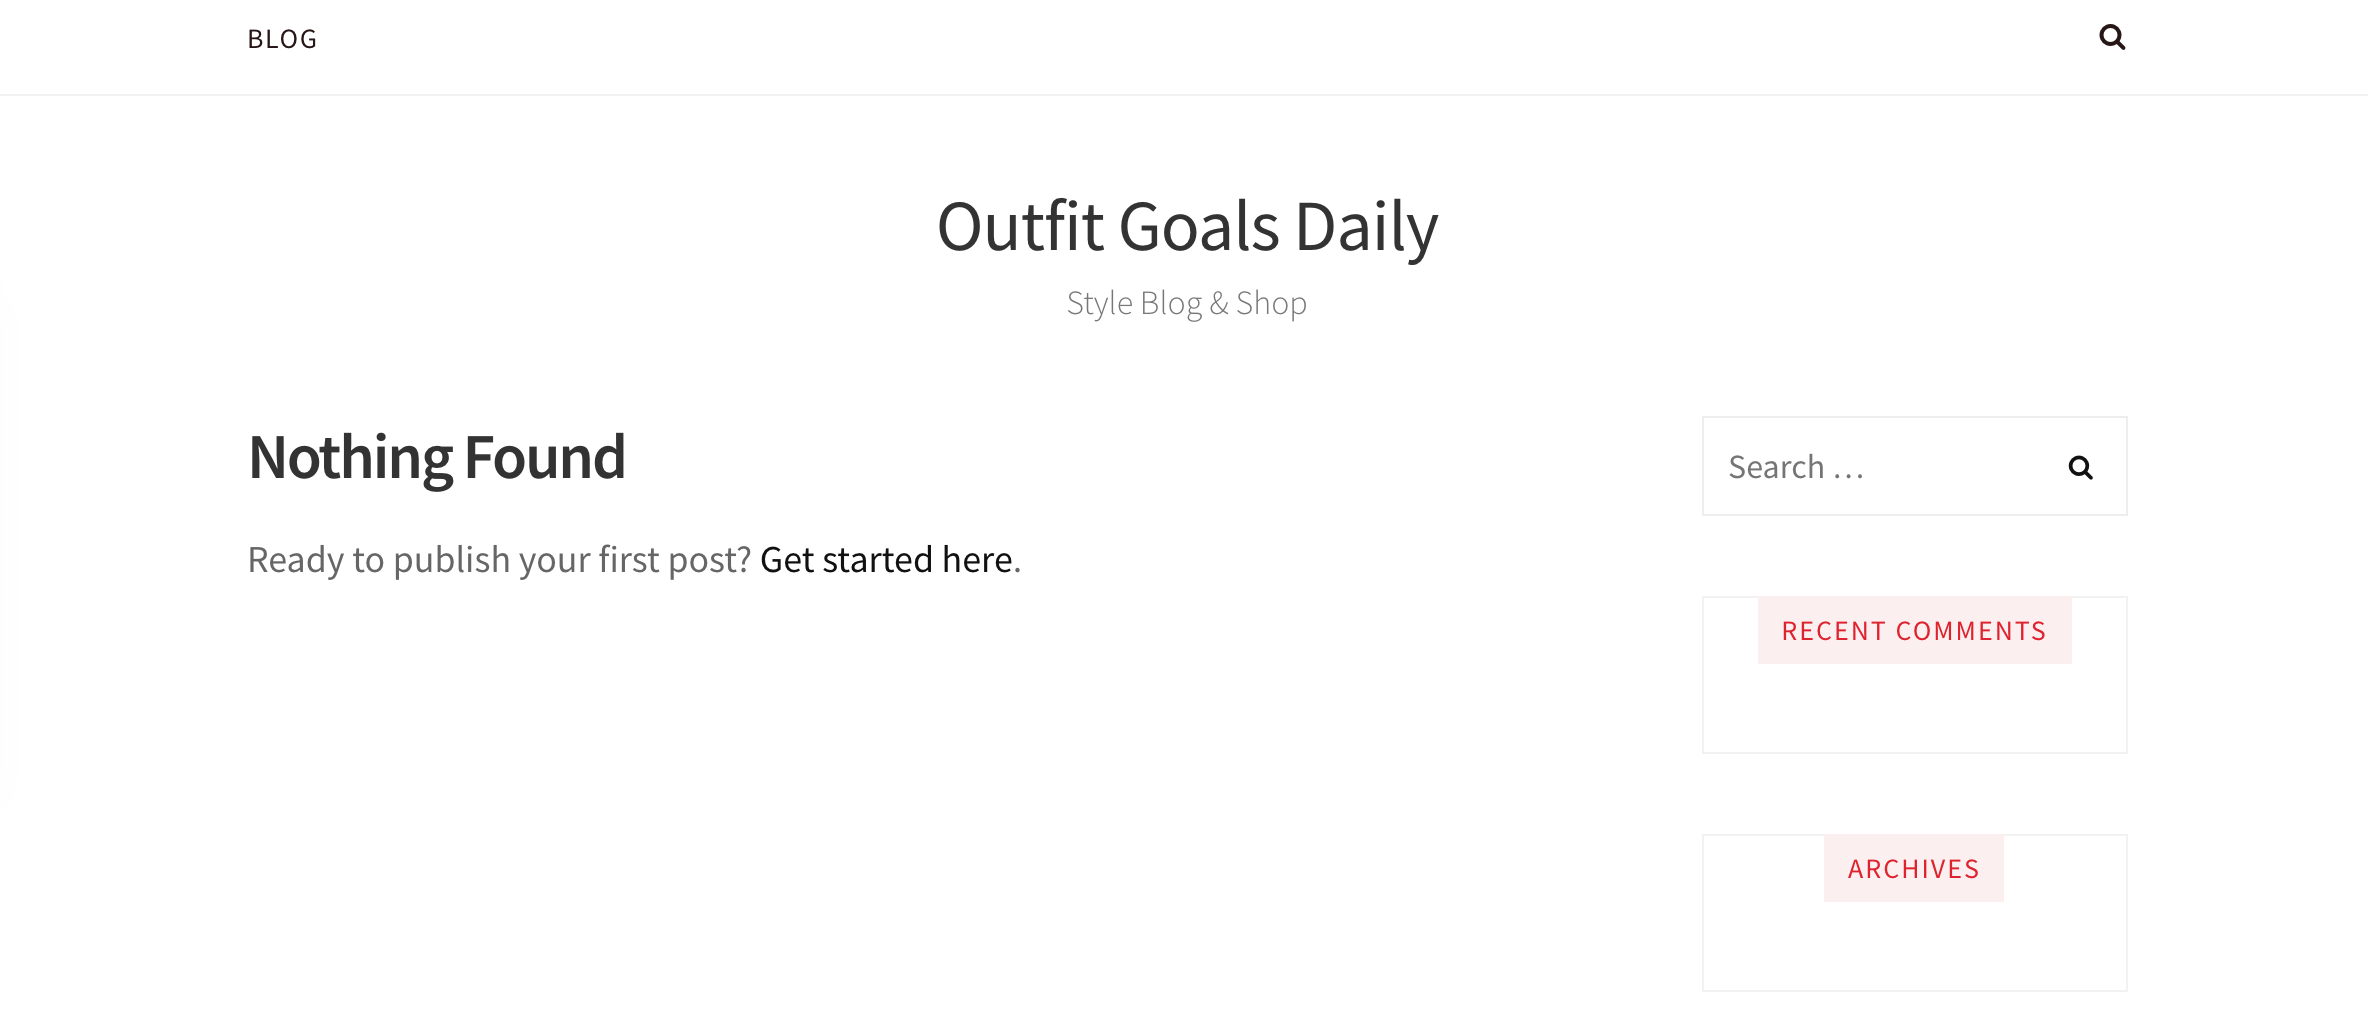
If you go to your fashion blog URL a website like this will come up.
Don’t panic, the next section will show you how to make a beautiful website, how to make pages and blog posts : )
What Is The Best Free Theme For A WordPress Fashion Blog
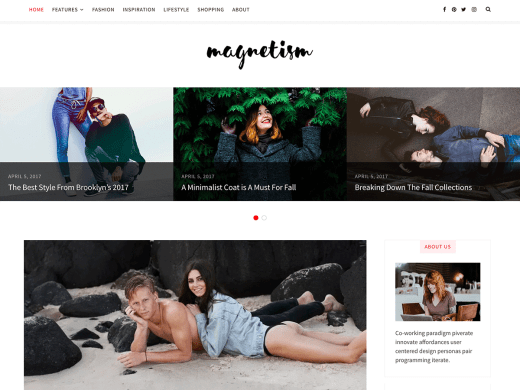
The theme we are going to use for our fashion blog is called Magnetism. A theme is like an outfit for your site, it’s the design of the site.
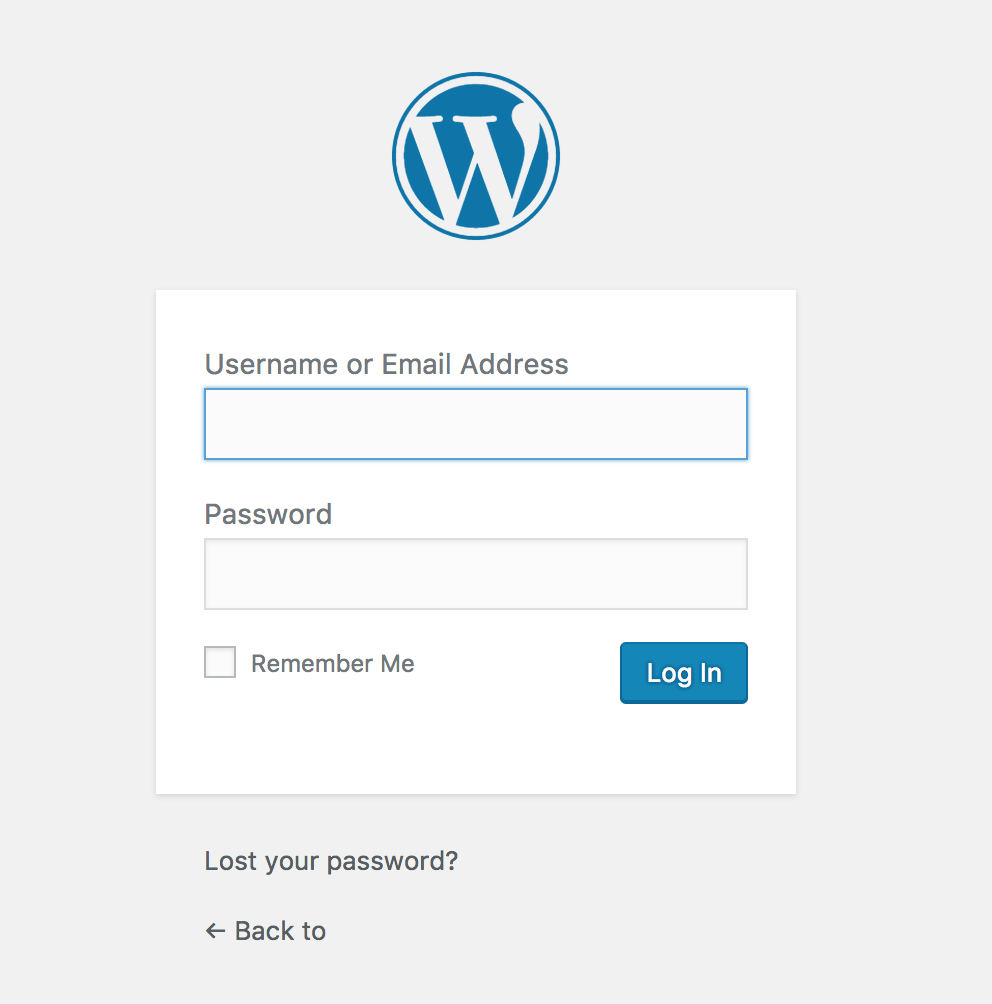
To install Magnetism, log into you WordPress site by going to yoursite.com/admin
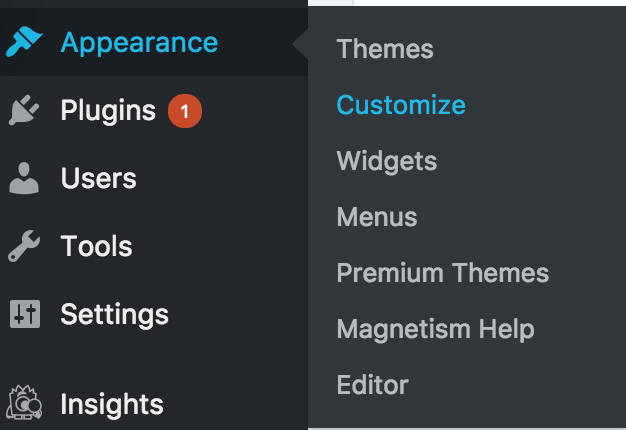
Once logged in, go to Appearance, Themes.
Click Add New.
Then search for the Magnetism theme and click Install then Activate.
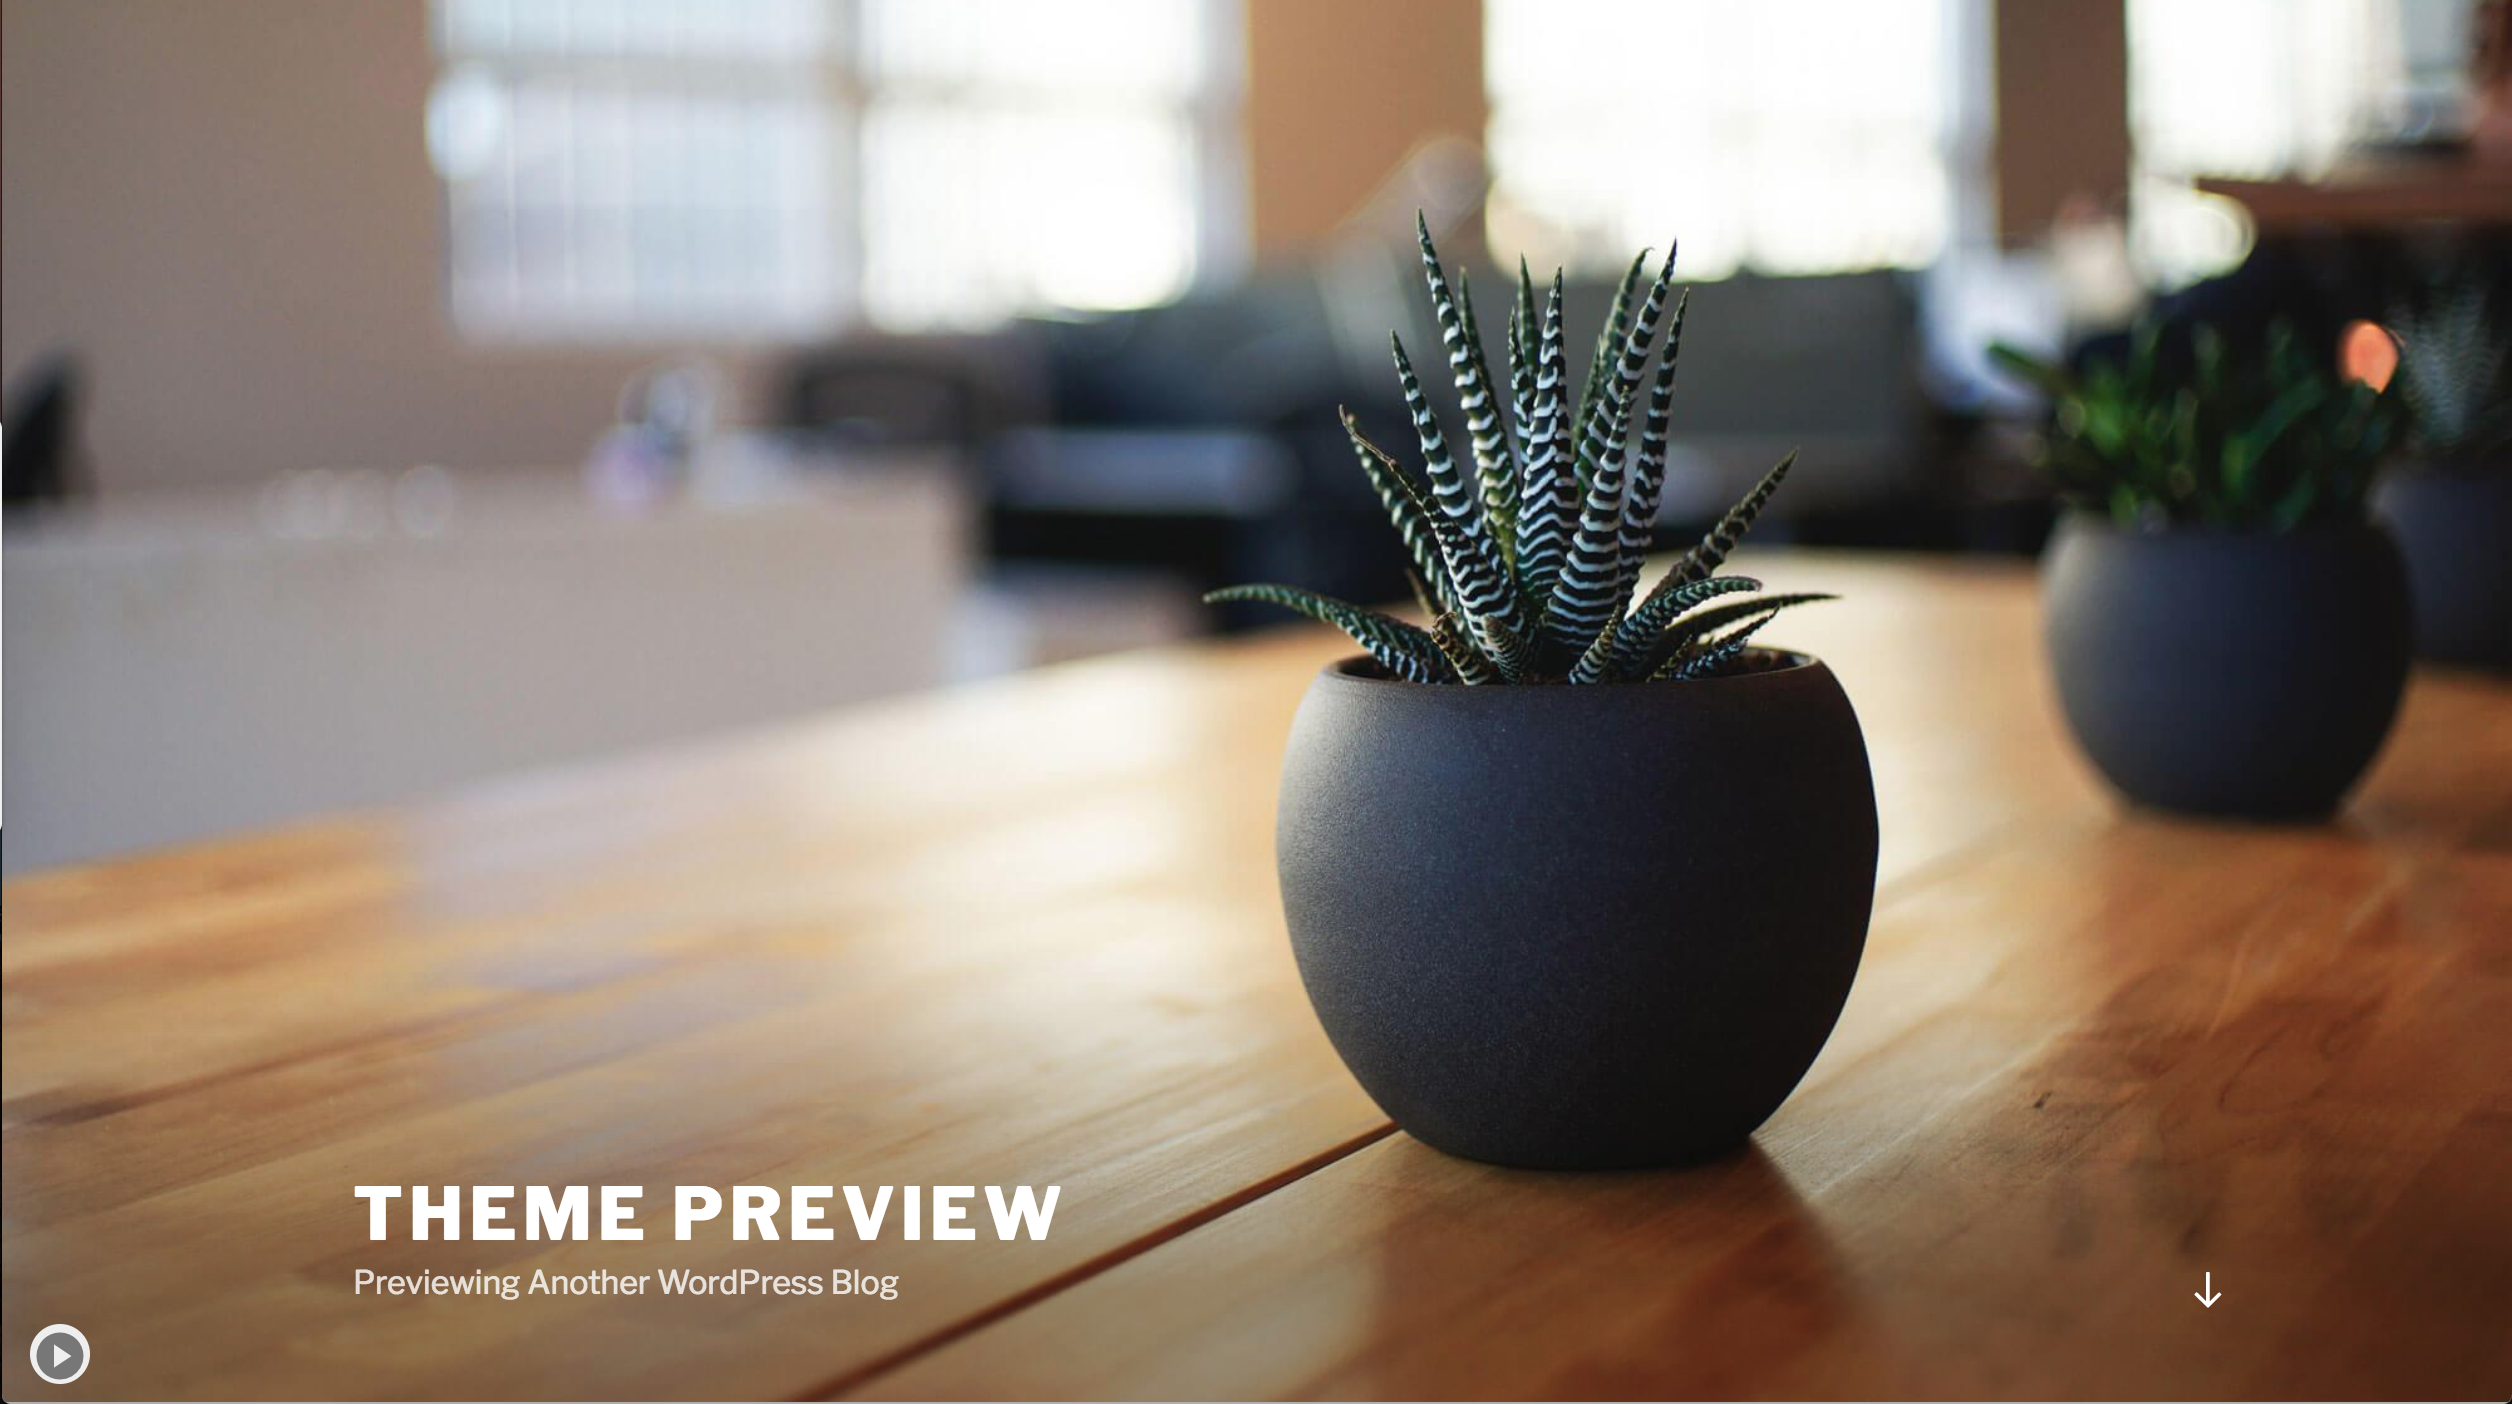
Initially your blog will look like this. We’ll now show How To Make The Magnetism WordPress Theme Look Like The Demo Preview.
To make our site look like the demo we need to install the recommended plugins. Plugins are like presets to make our website function in a particular way.
Go to the WordPress dashboard and click plugins.
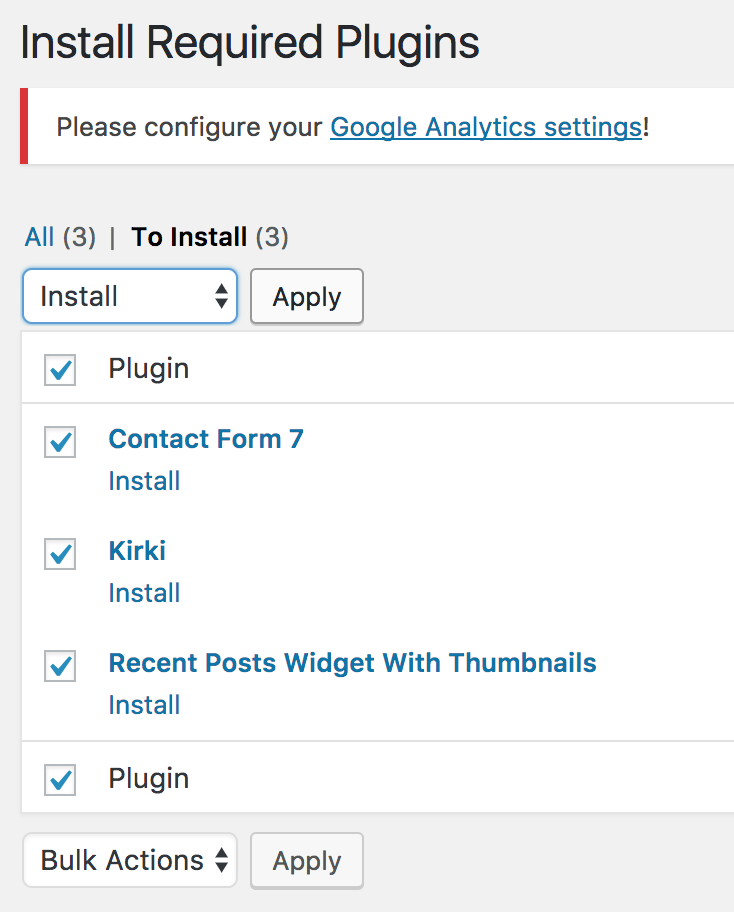
Then click Begin installing plugins.
Select all the plugins, select the install from the drop down menu and then click apply.
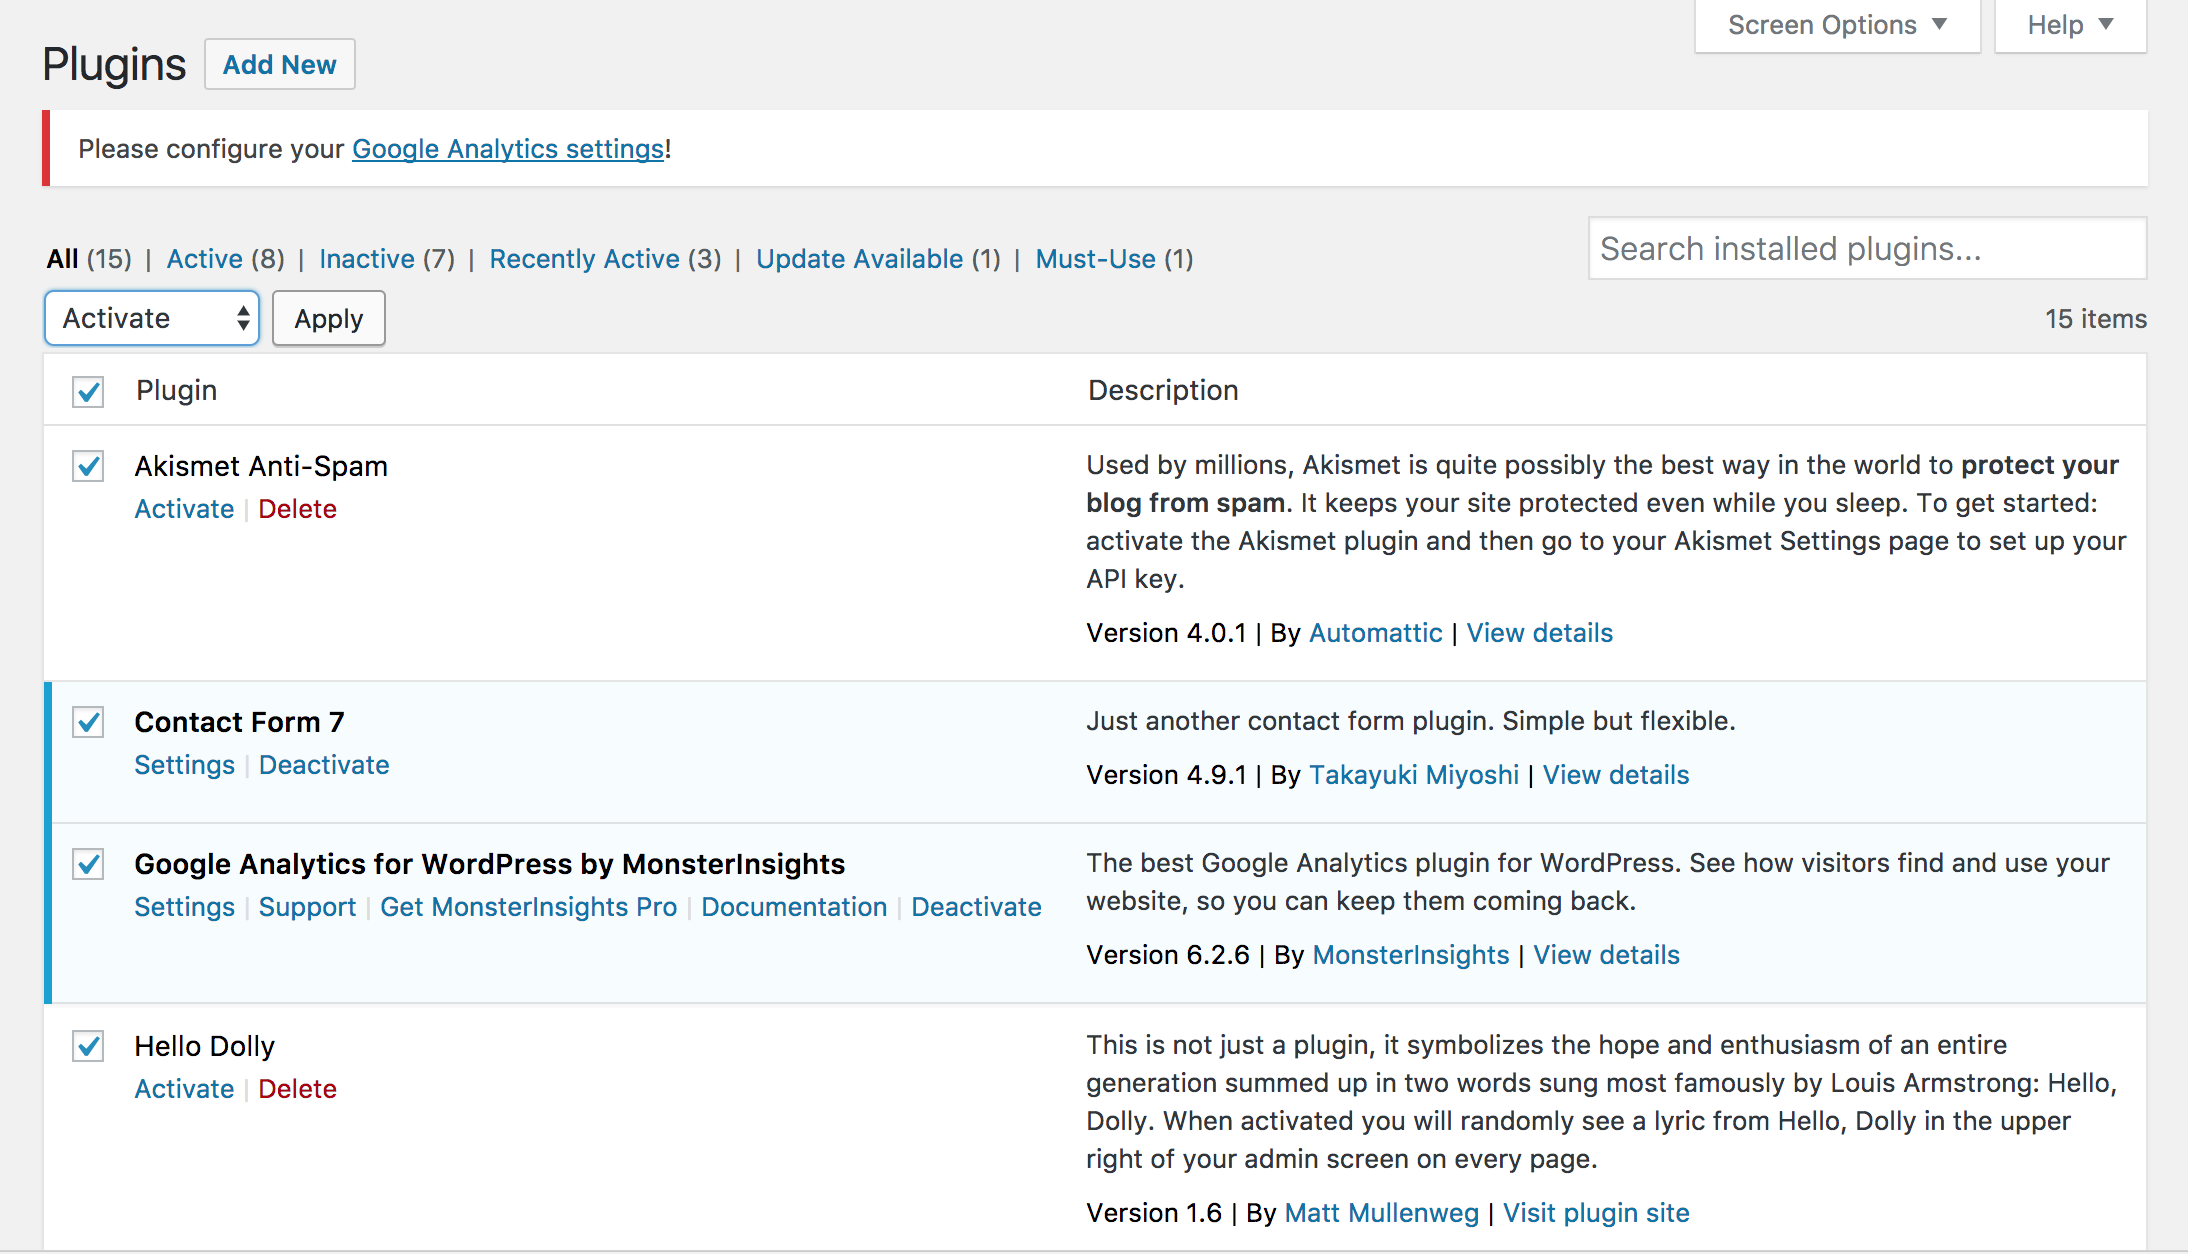
Then go back to the plugins page, select all, choose Activate from the drop down menu and click apply.
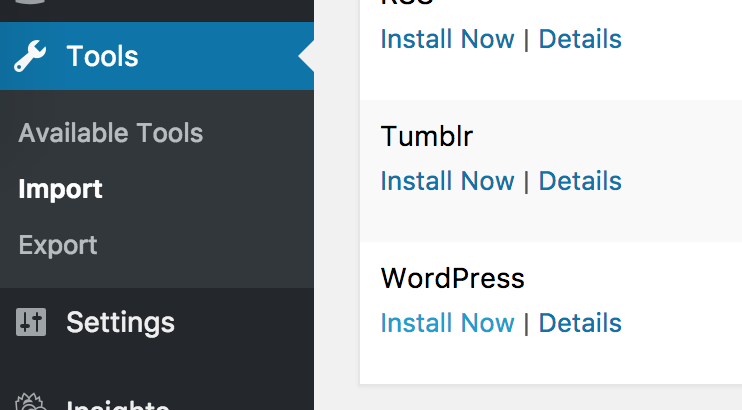
Next we’ll go to Tools > Import
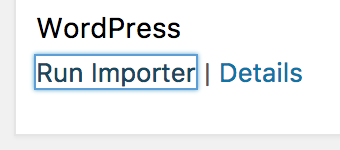
Scroll to the bottom of that page and under ‘WordPress’ click ‘Install Now’
Then click ‘Run Importer’
Click the following link and a file will download that has all the preset settings. – File 1
Upload the downloaded file using Run Importer.
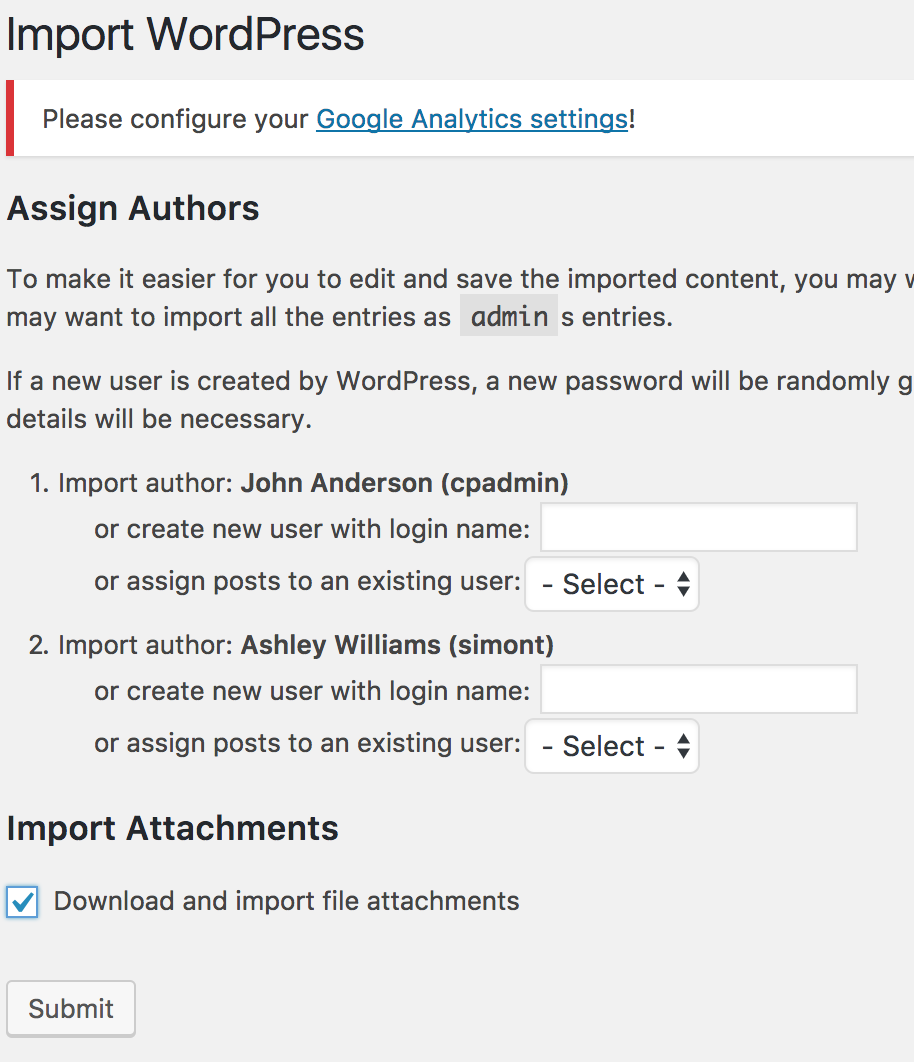
Then click Upload file and import’.
On the next page click download and import file attachments and then hit submit.
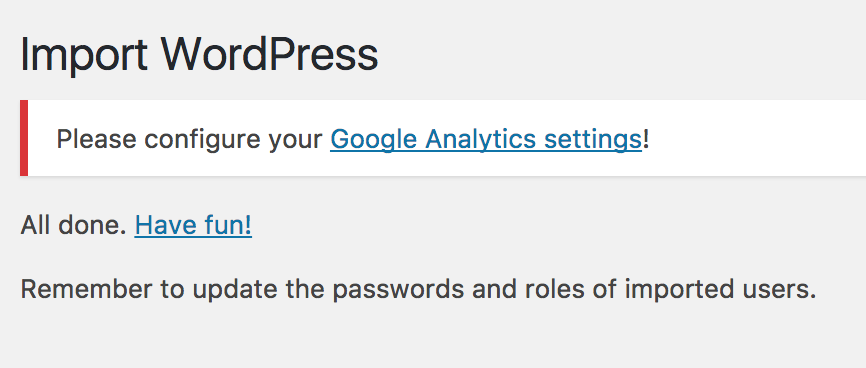
If it runs properly the following page will come up.
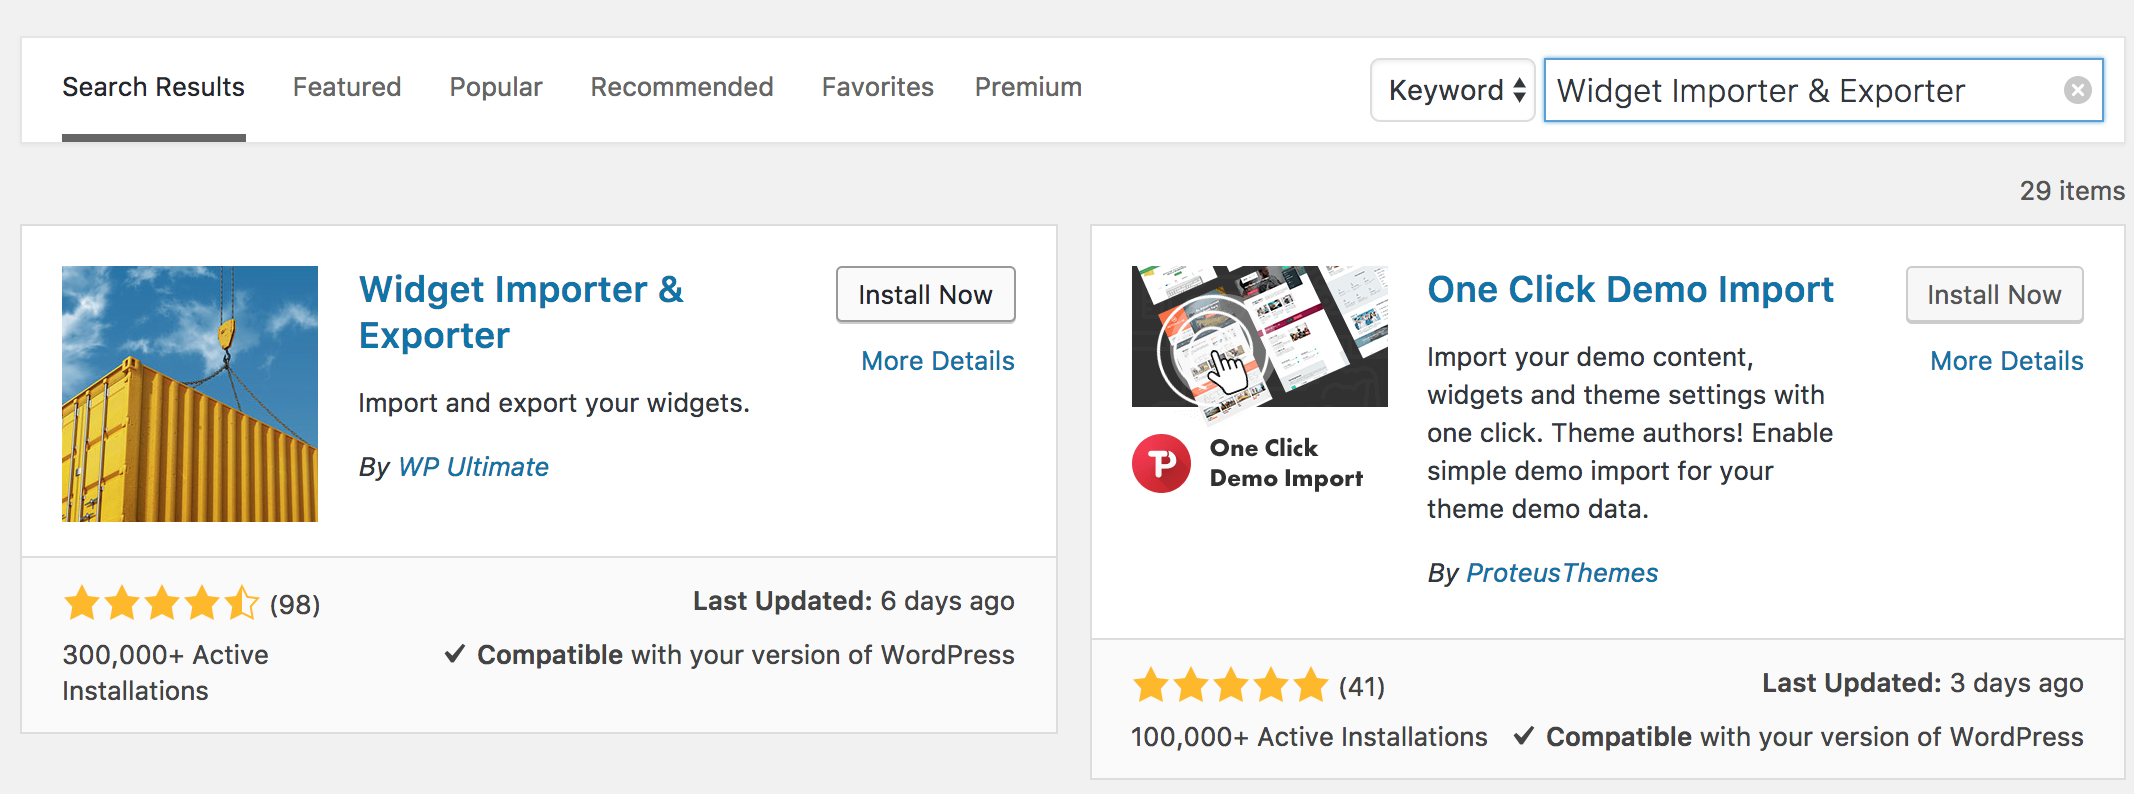
Next we’ll go to plugin again search for Widget Importer & Exporter. Install and activate this plugin.
Once installed, click the following link to download the preset widget settings – File 2
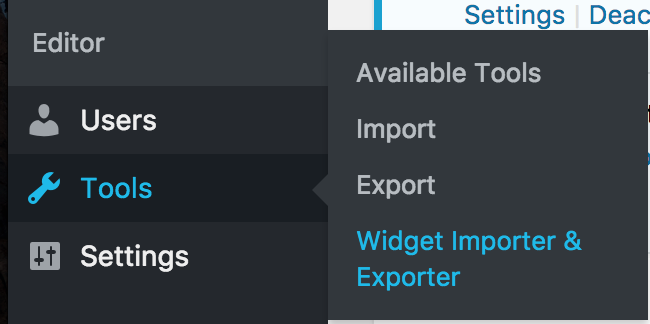
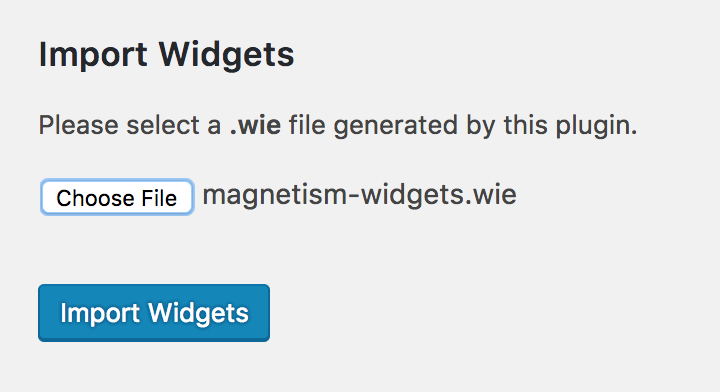
Next go Tools > Widget Import Export and Import the file you just downloaded.
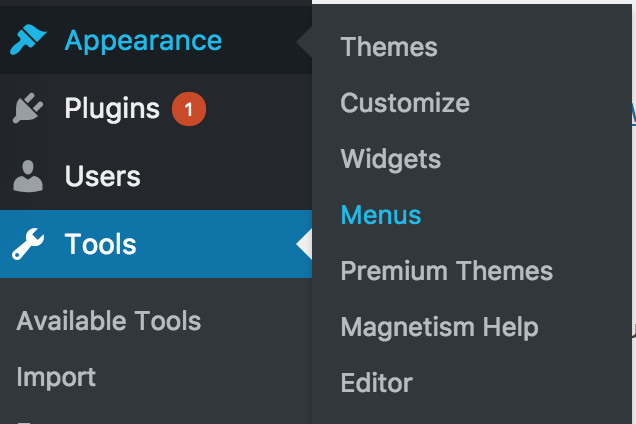
Next go appearance > menus.
From the drop down select Main Menu.
Then organize the menu so it looks like the image below. You will delete some pages like featured and typography. Then for display location check Main Menu.
Once you’ve done this step, save the menu.
The select the social menu and for display location check social menu.
On the same page, go to the top right corner and click screen options. Make the check boxes look like the image below.
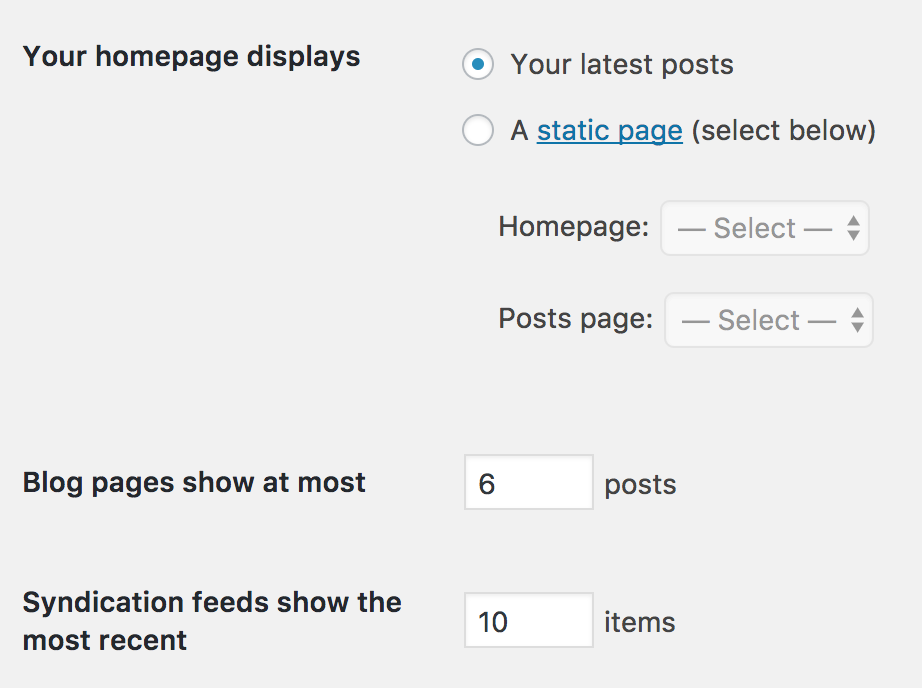
Next under settings click reading.
On this page make sure your latests posts is selected and for blog pages at most change the number to 6.
Next we are going to setup the magnetism theme Homepage Carousel.
Go to Appearance > Customize
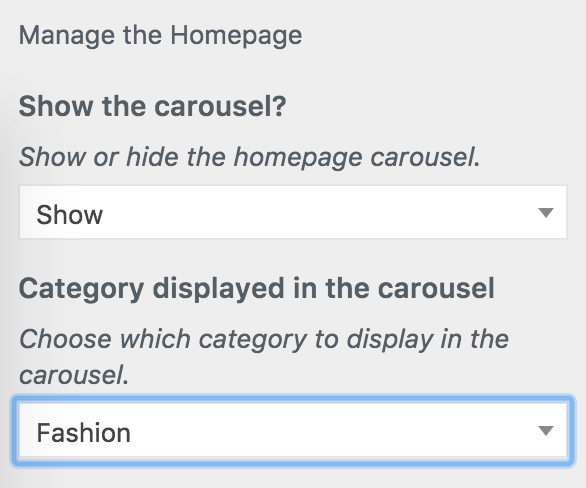
Go Layout > Home Page Settings and choose show from the drop down and fashion for category displayed.
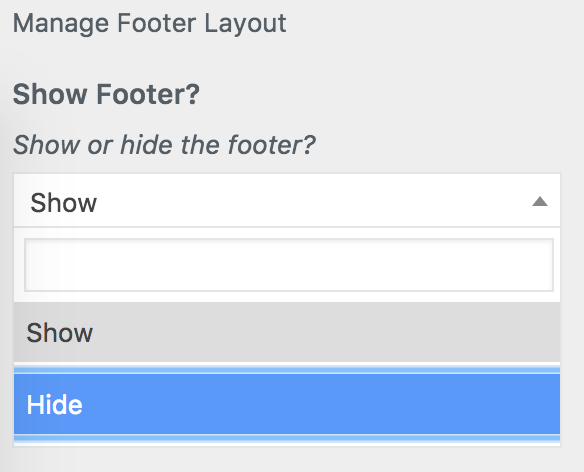
Return to layout > footer layout settings > hide and then click publish.
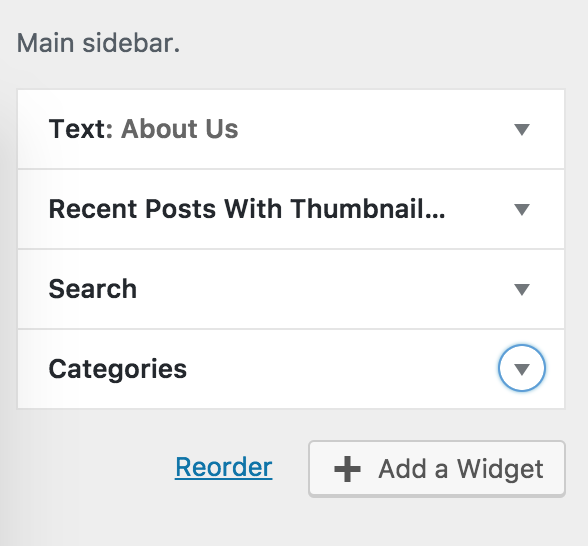
Then go back to the customizer main menu and click widgets > sidebar and remove recent comments, archives and meta. Organize the menu to look like below.
Return to the customizer main menu and click general settings > site identity. Here is how to import a logo to the magnetism theme.
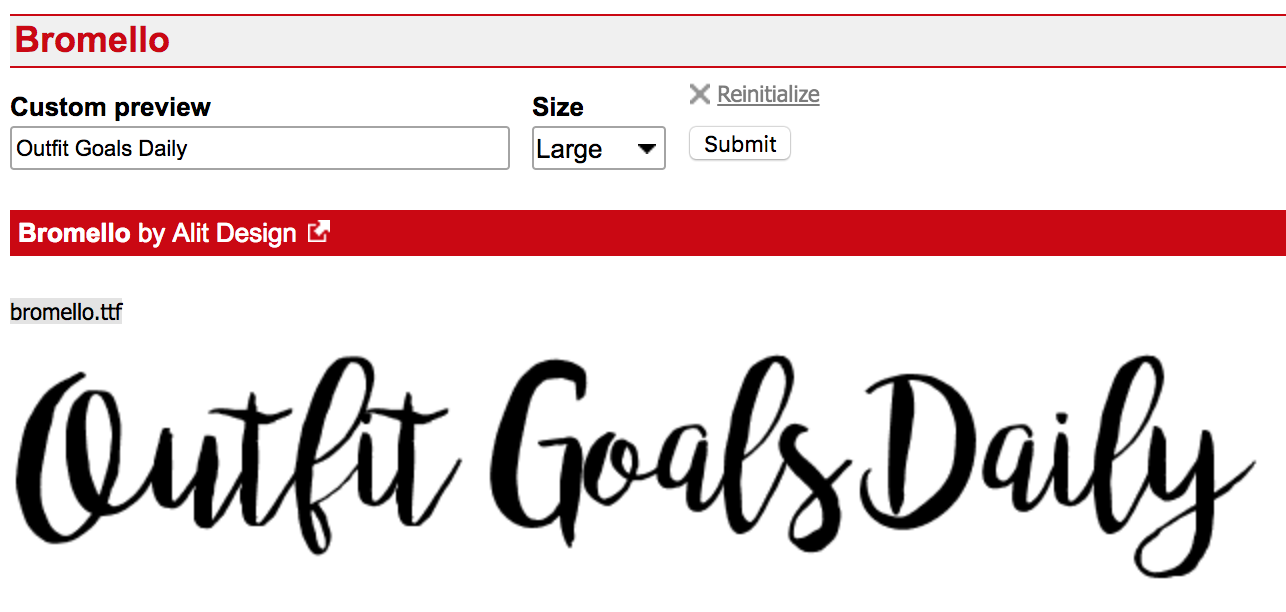
To make a logo we are going to use a website called Dafont. The actual magnetism font is called Sensa Brush Fill, but it is a payed font. We are going to use Bromello because it is similar and free.
With that said we can use this technique for any font on Dafont.
Type in your blog title and click submit.
Then screenshot your logo and upload it to your website.
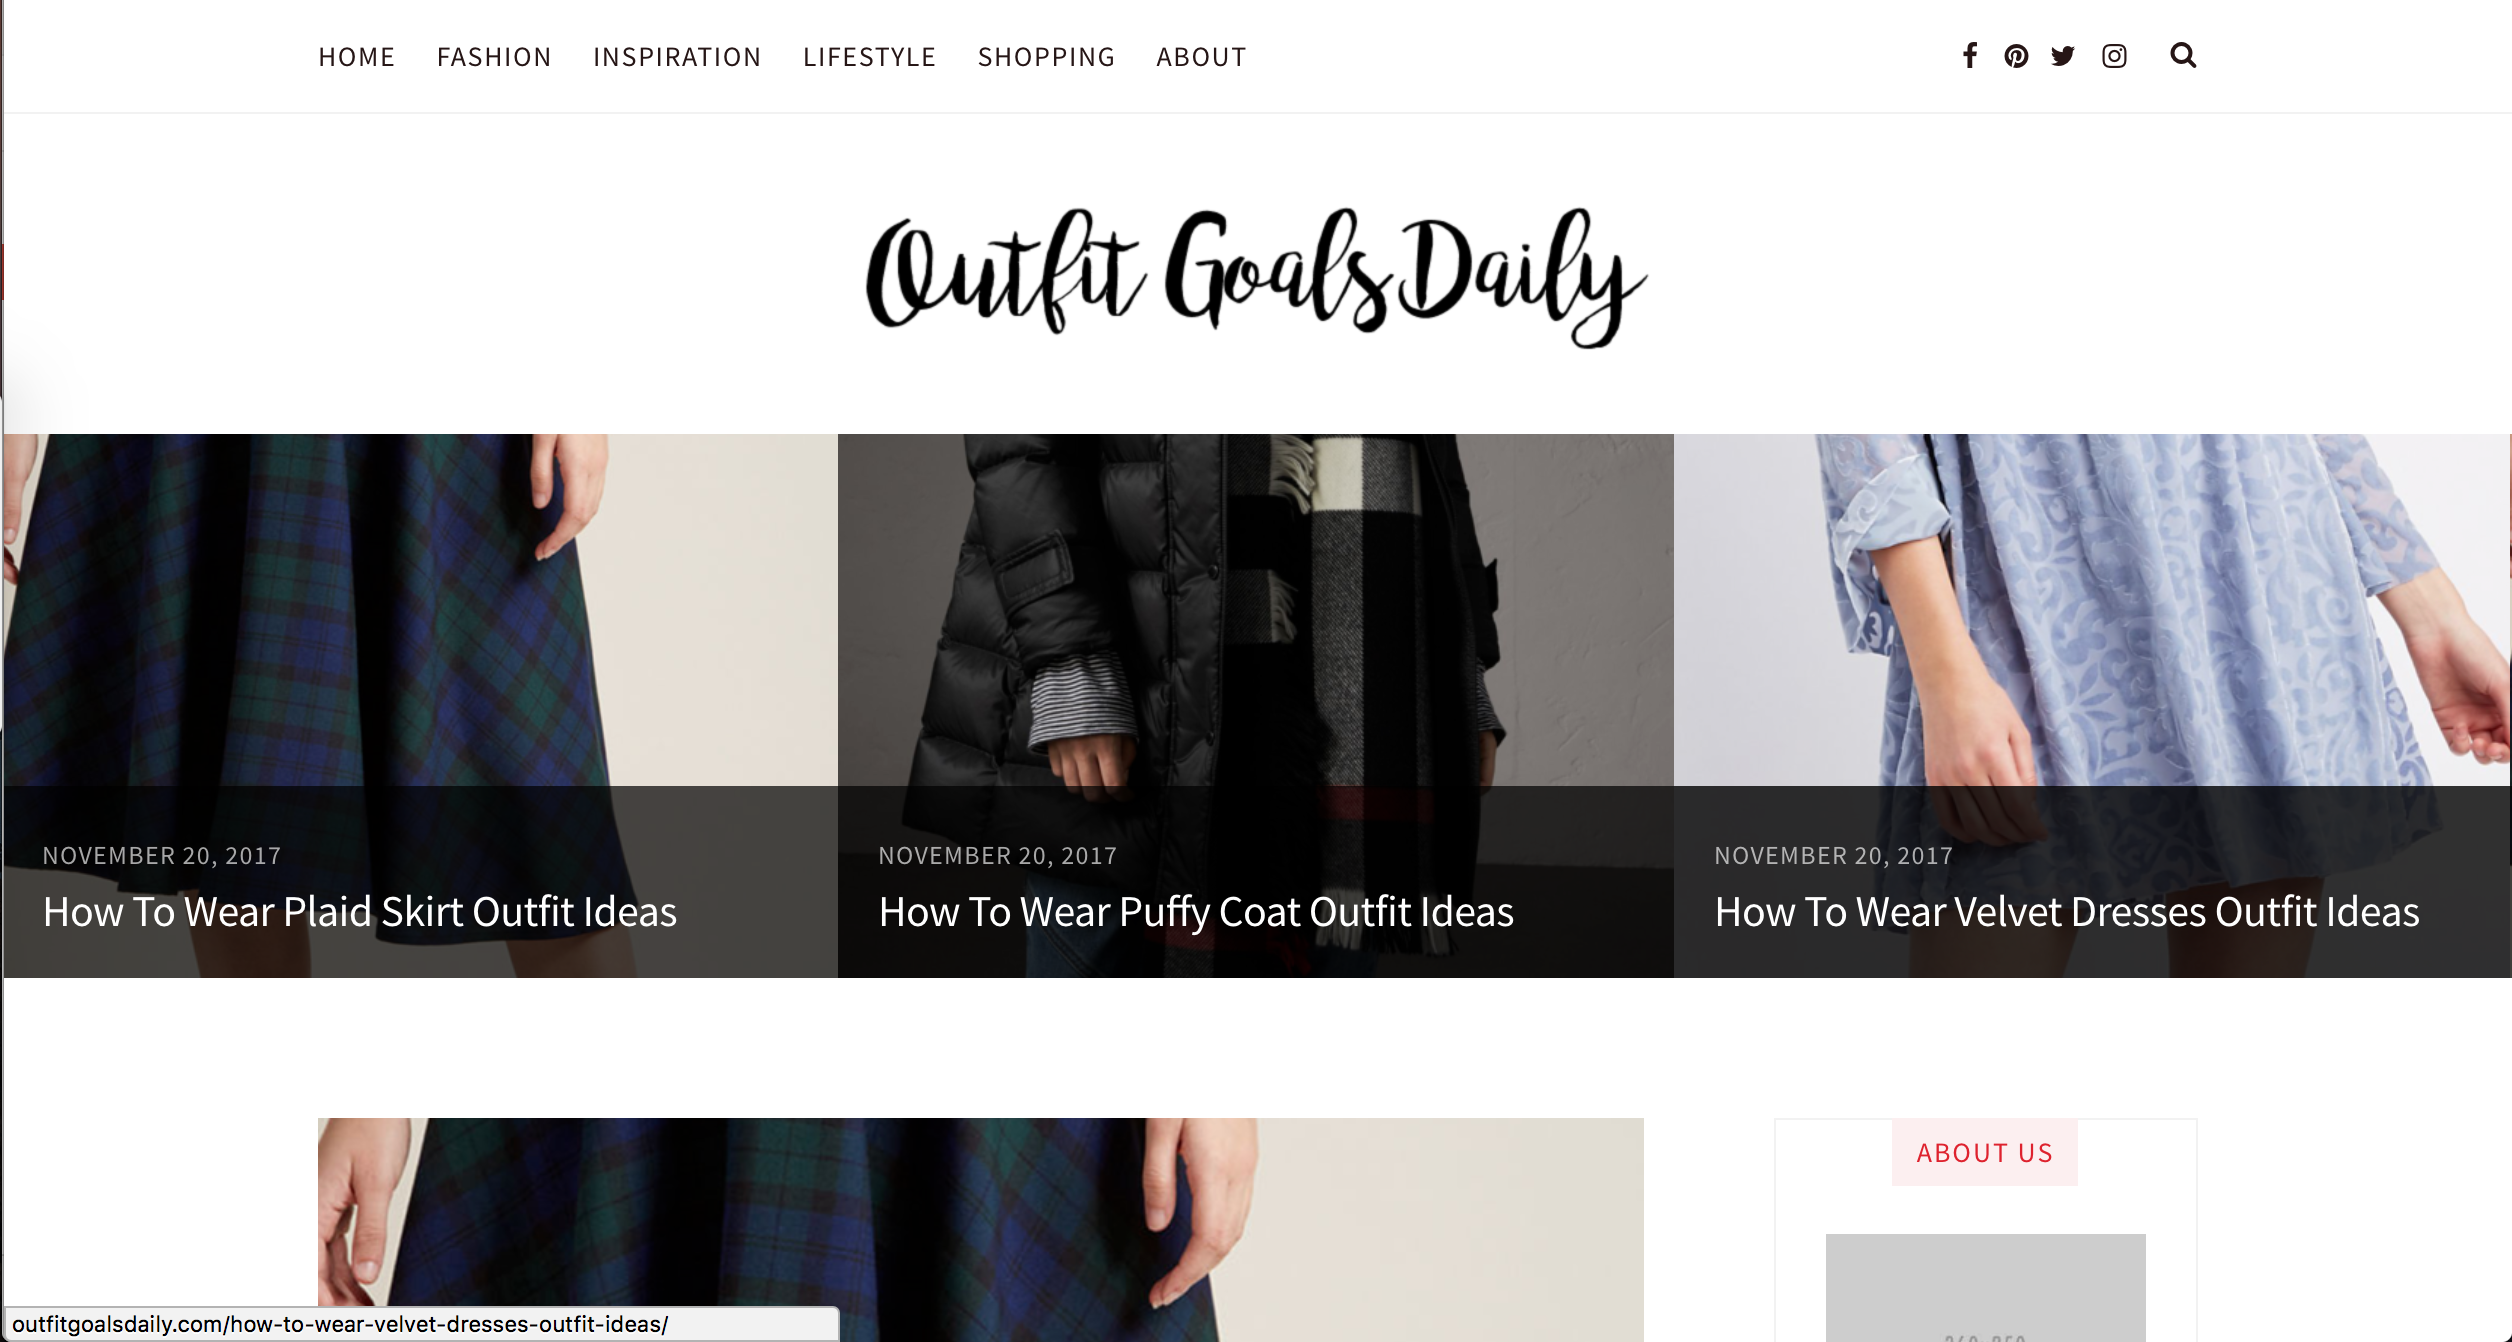
At this point if you’ve done everything correctly your fashion blog should look like the gif below.
Next we’re going to delete all the preset posts and add our own.
Go to posts > all posts. Select all posts and move to trash. 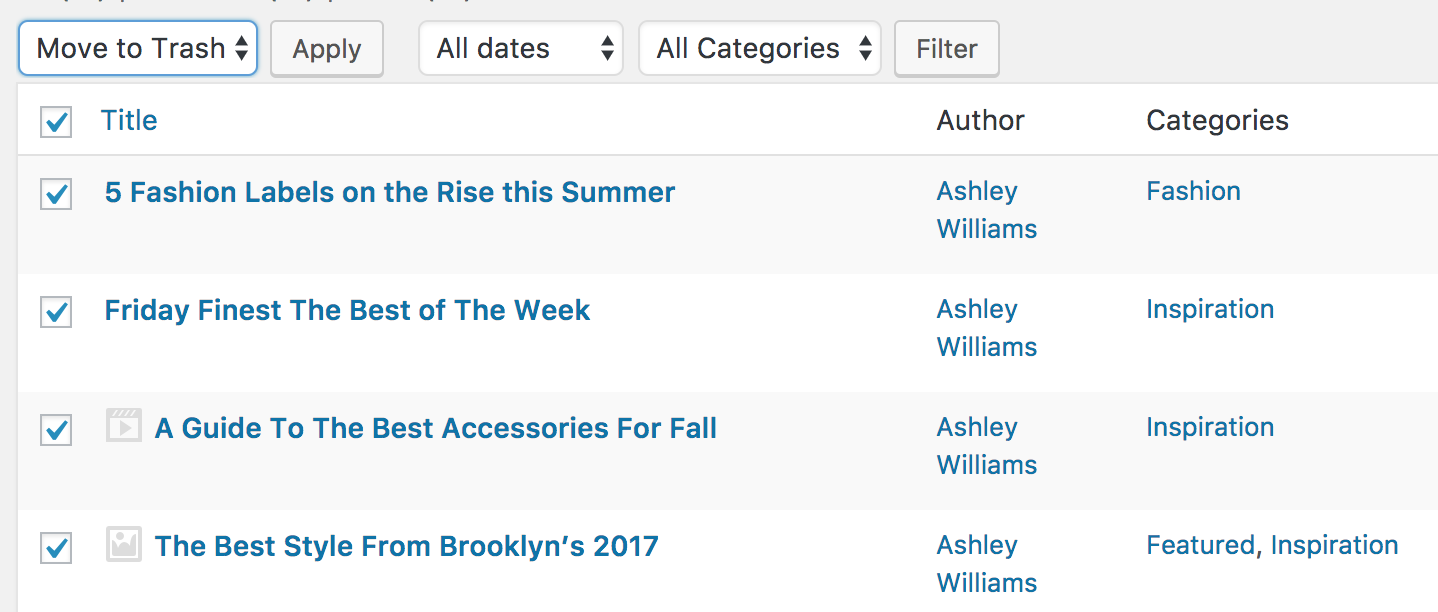
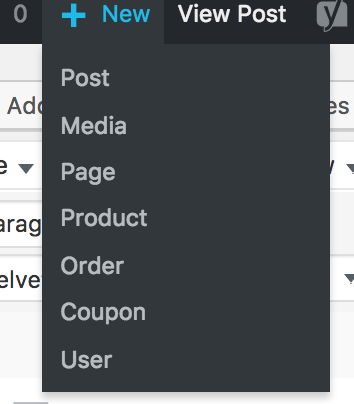
To add posts click new > post from the topbar.
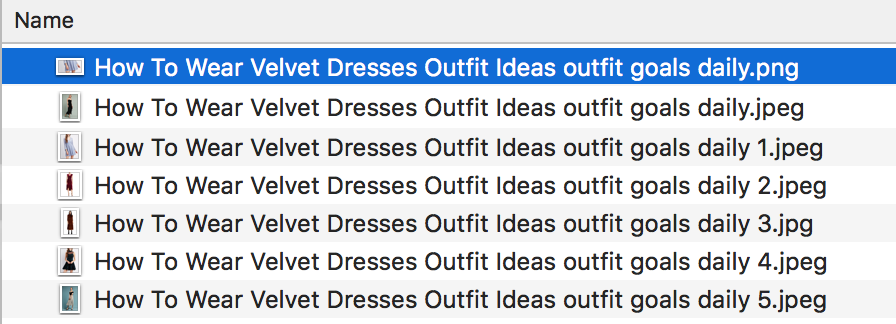
For the title include the name of the pieces you are wearing in it. Also name all your photos the same as your blog post including your blog’s name.
*This makes it more likely to come up in Google when people search for the ‘How To Wear Velvet Dresses Outfit Ideas’ or the name of your blog Outfit Goals Daily’.
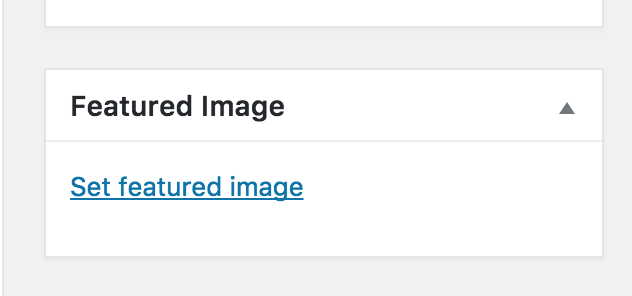
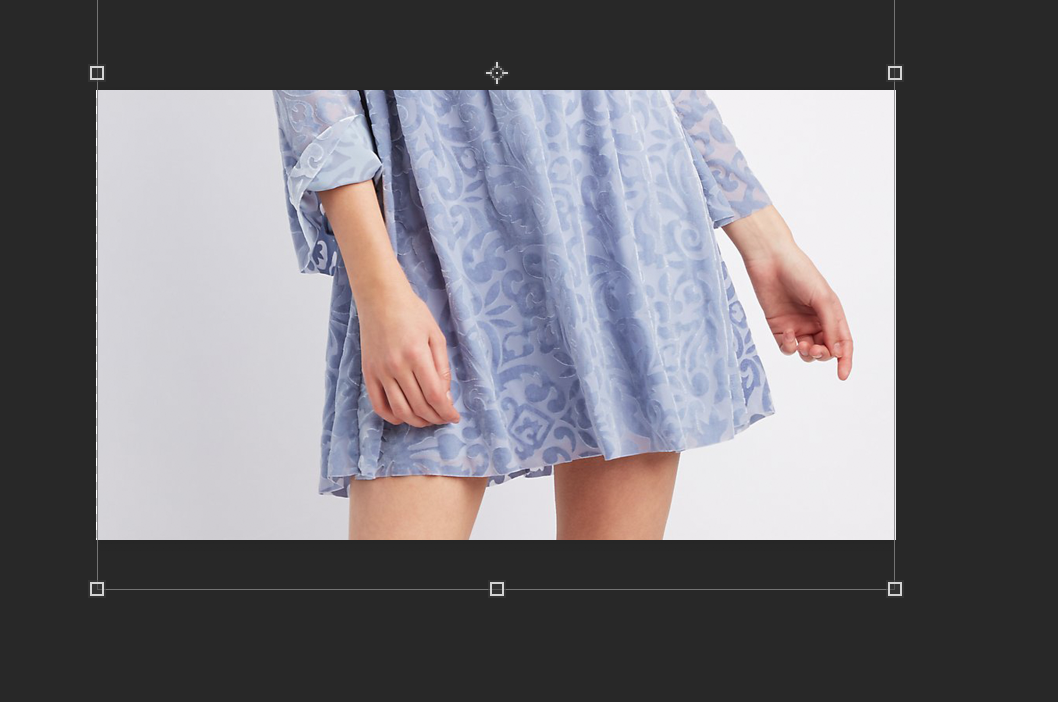
The feature image is what shows up on you blog page. You need have have this photo be a landscape photo like the one below.
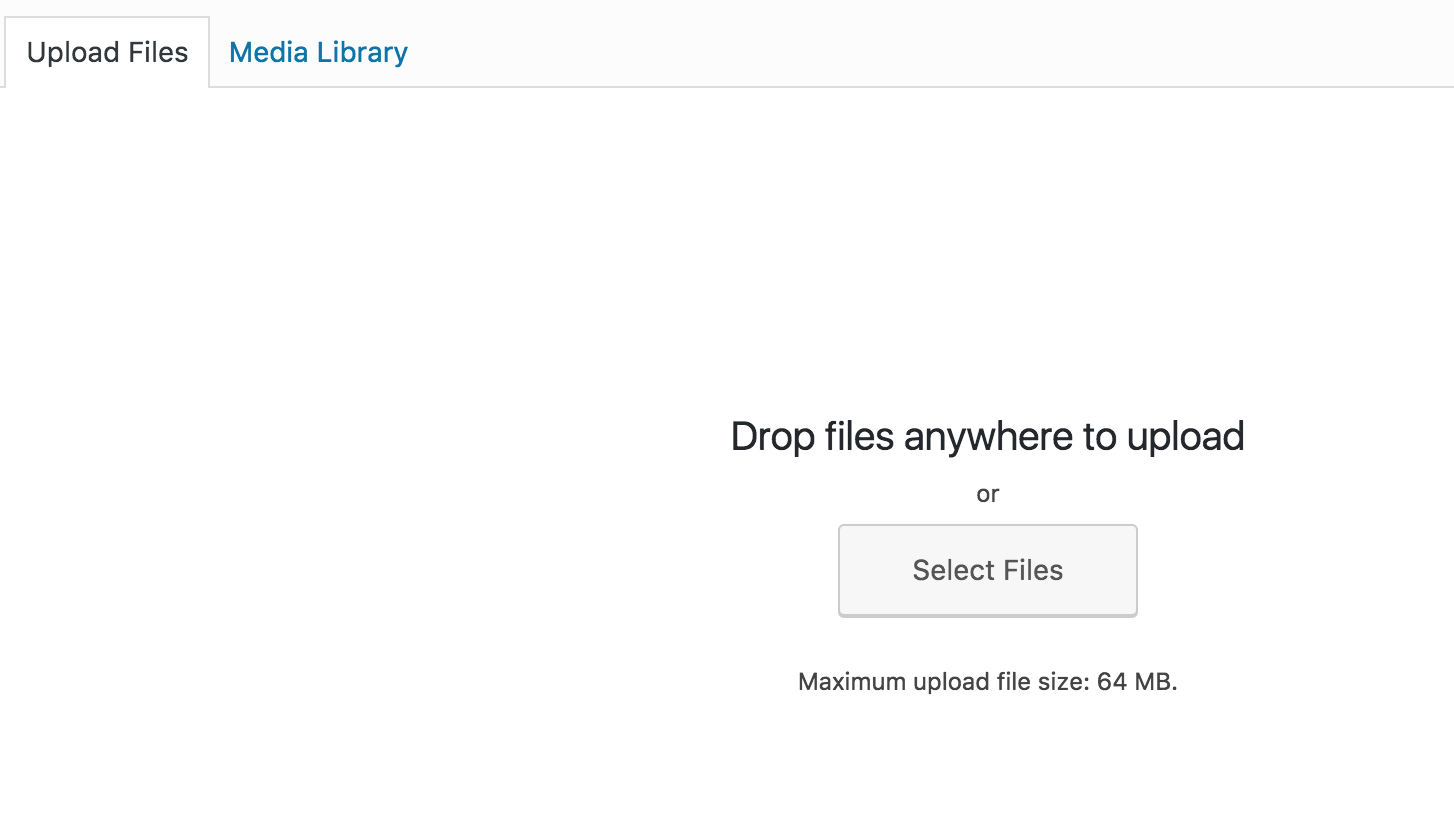
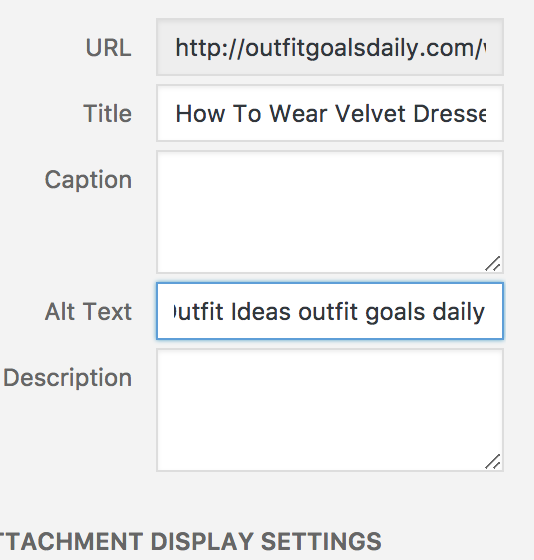
Upload photos and change the alt text to be the same as the title. This will tell Google what you are wearing in the image.
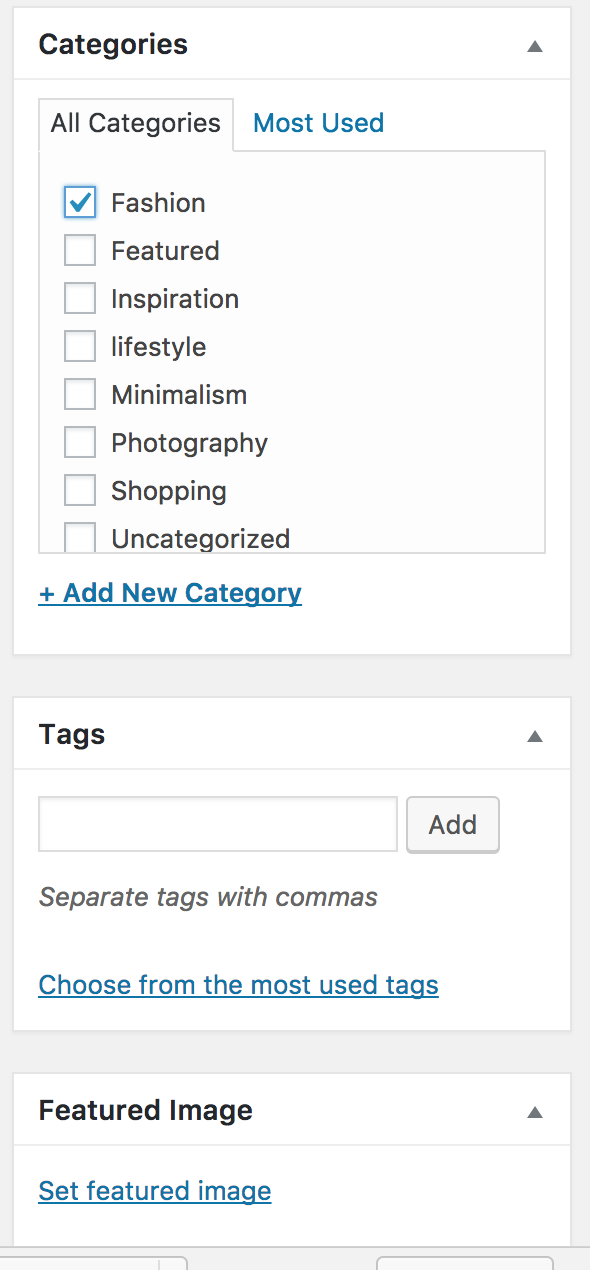
Make sure the right categories are selected or they won’t come up on your respective pages or on the home page carousel.
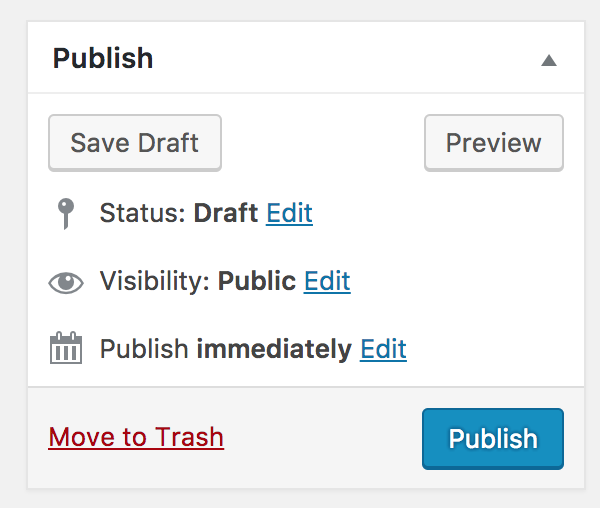
Then click publish.
Repeat publishing posts 6 times and we now have a beautiful fashion blog using the magnetism WordPress theme : )
As many blog posts as you want can be made, I only did six to fill out the content on the front page.
There are a few last things we need to do to make the site better: Link our social media, set up the about page/widget and hide the footer.
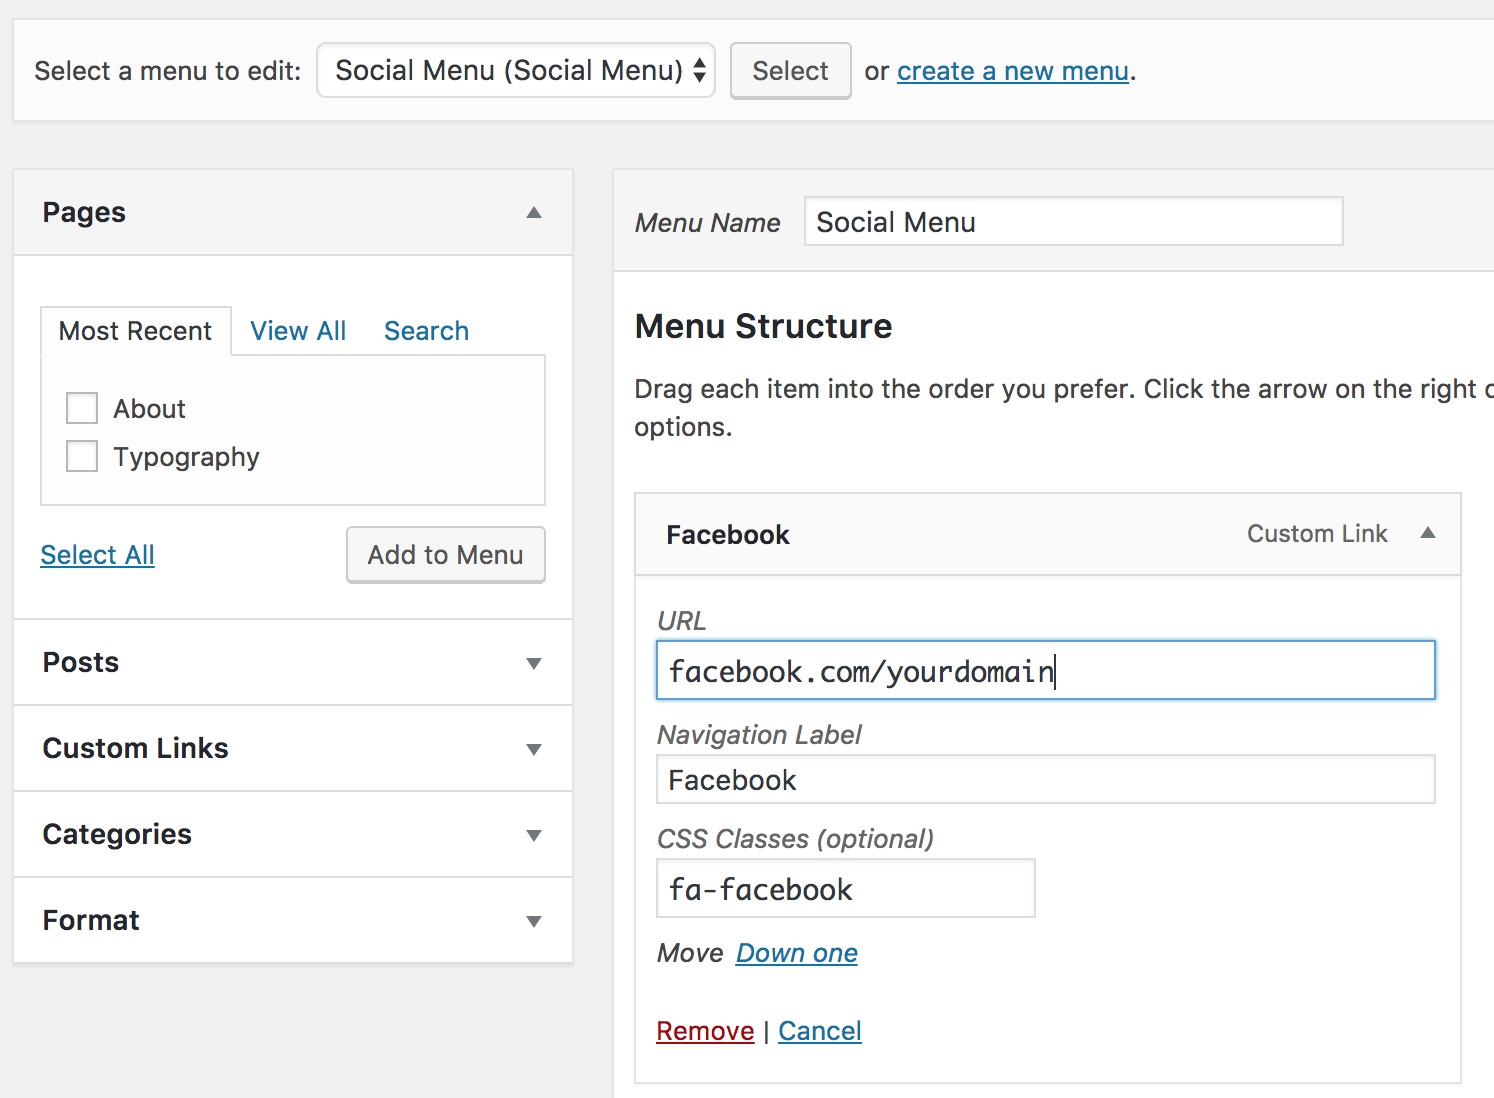
To link your social media, go to themes > menus and select the social menu. Then add the respective links.
Next we’ll go to the about page and edit it. Upload a photo of yourself, tell the world a little bit about yourself and include your email so people can contact you. Publish this page and then view it.
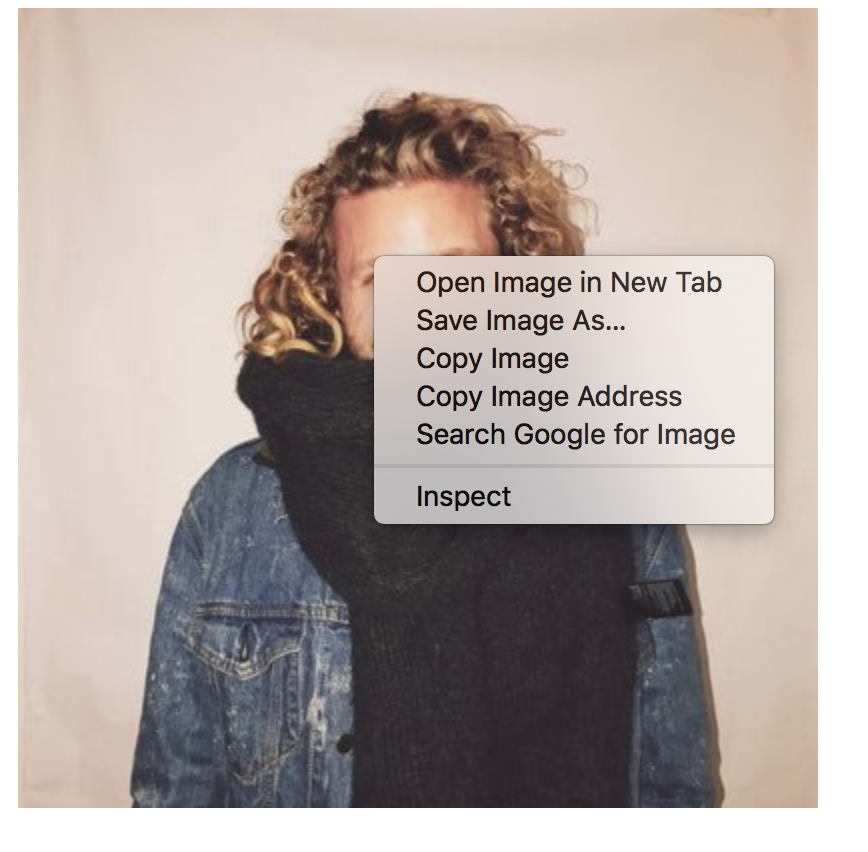
From the about page right click the image we just upload and click open image in new tab.
To add this to the about us widget go to appearance > widgets.
Add the image URL after src=”add-the-image-url-here.jpg”.
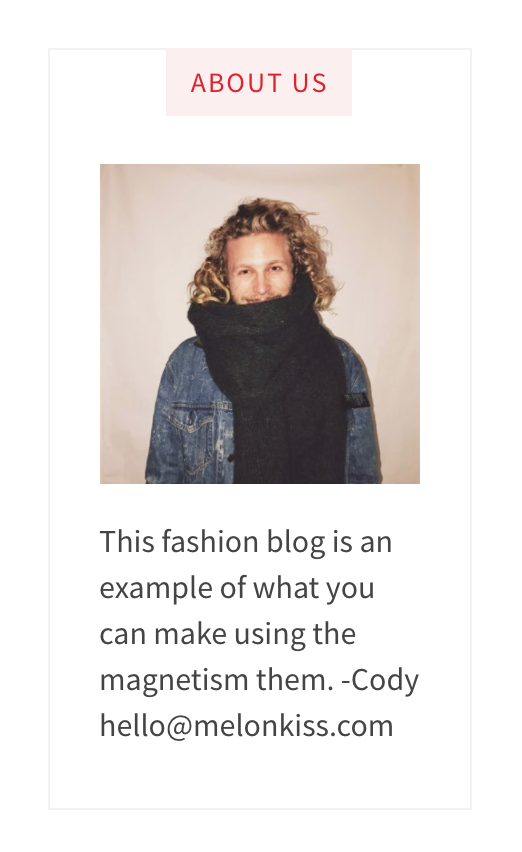
To add your email edit the text between <p></p>. If done right it will look something like the image below.
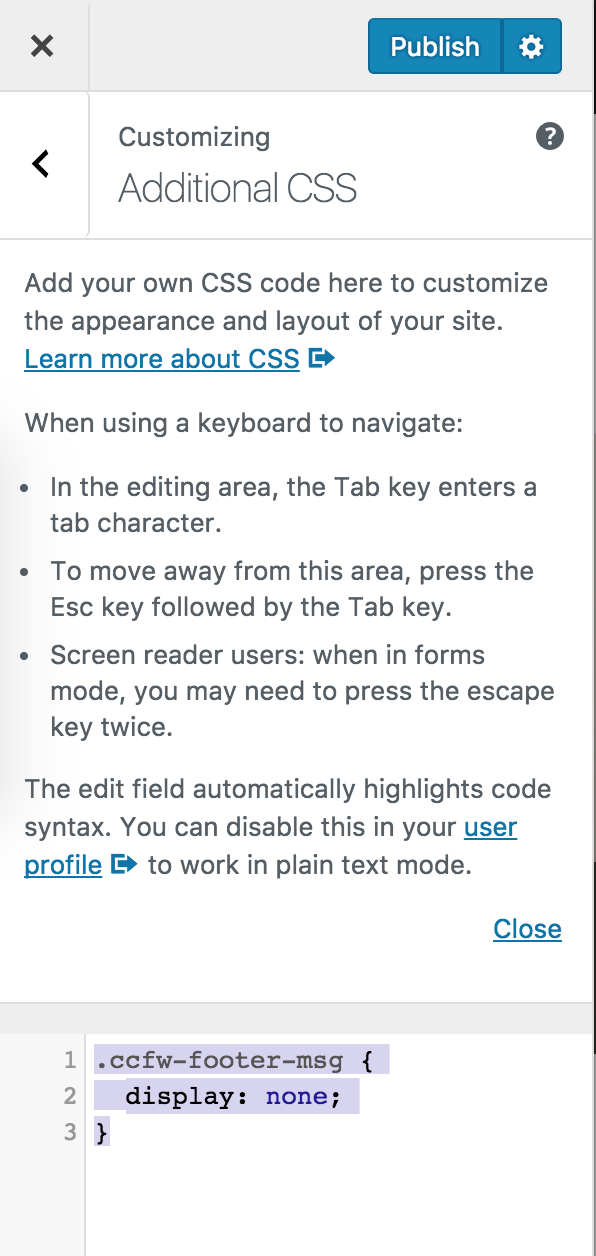
Finally we are going to get rid of the footer of the magnetism theme by pasting some custom CSS code.
Go to themes > customize > custom CSS and paste the following code in the box. If done right the footer will disappear.
You are dooone!!!! Thank god right?! Huge congrats to you from us here at Melonkiss : )))
Now that you have a blog, the next section is going to show you how to drive free traffic to your fashion blog and get companies to give you free stuff and even pay you!
How To Drive Traffic To Your Fashion Blog
You now have a fashion blog! But it’s of no value to you if you don’t have traffic to it. You can drive traffic from Instagram, but there are other options.
This section will show you how to set up Google Analytics to measure traffic, show you how to drive traffic to your blog from Bloglovin, Pinterest and Youtube, and show you how to reach out to shops for free stuff and to collaborate.
I would like to add, the more traffic you have the more likely shops are to collaborate with you. If you have enough traffic, brands will even pay you to wear their clothes.
Let’s dive in! : )
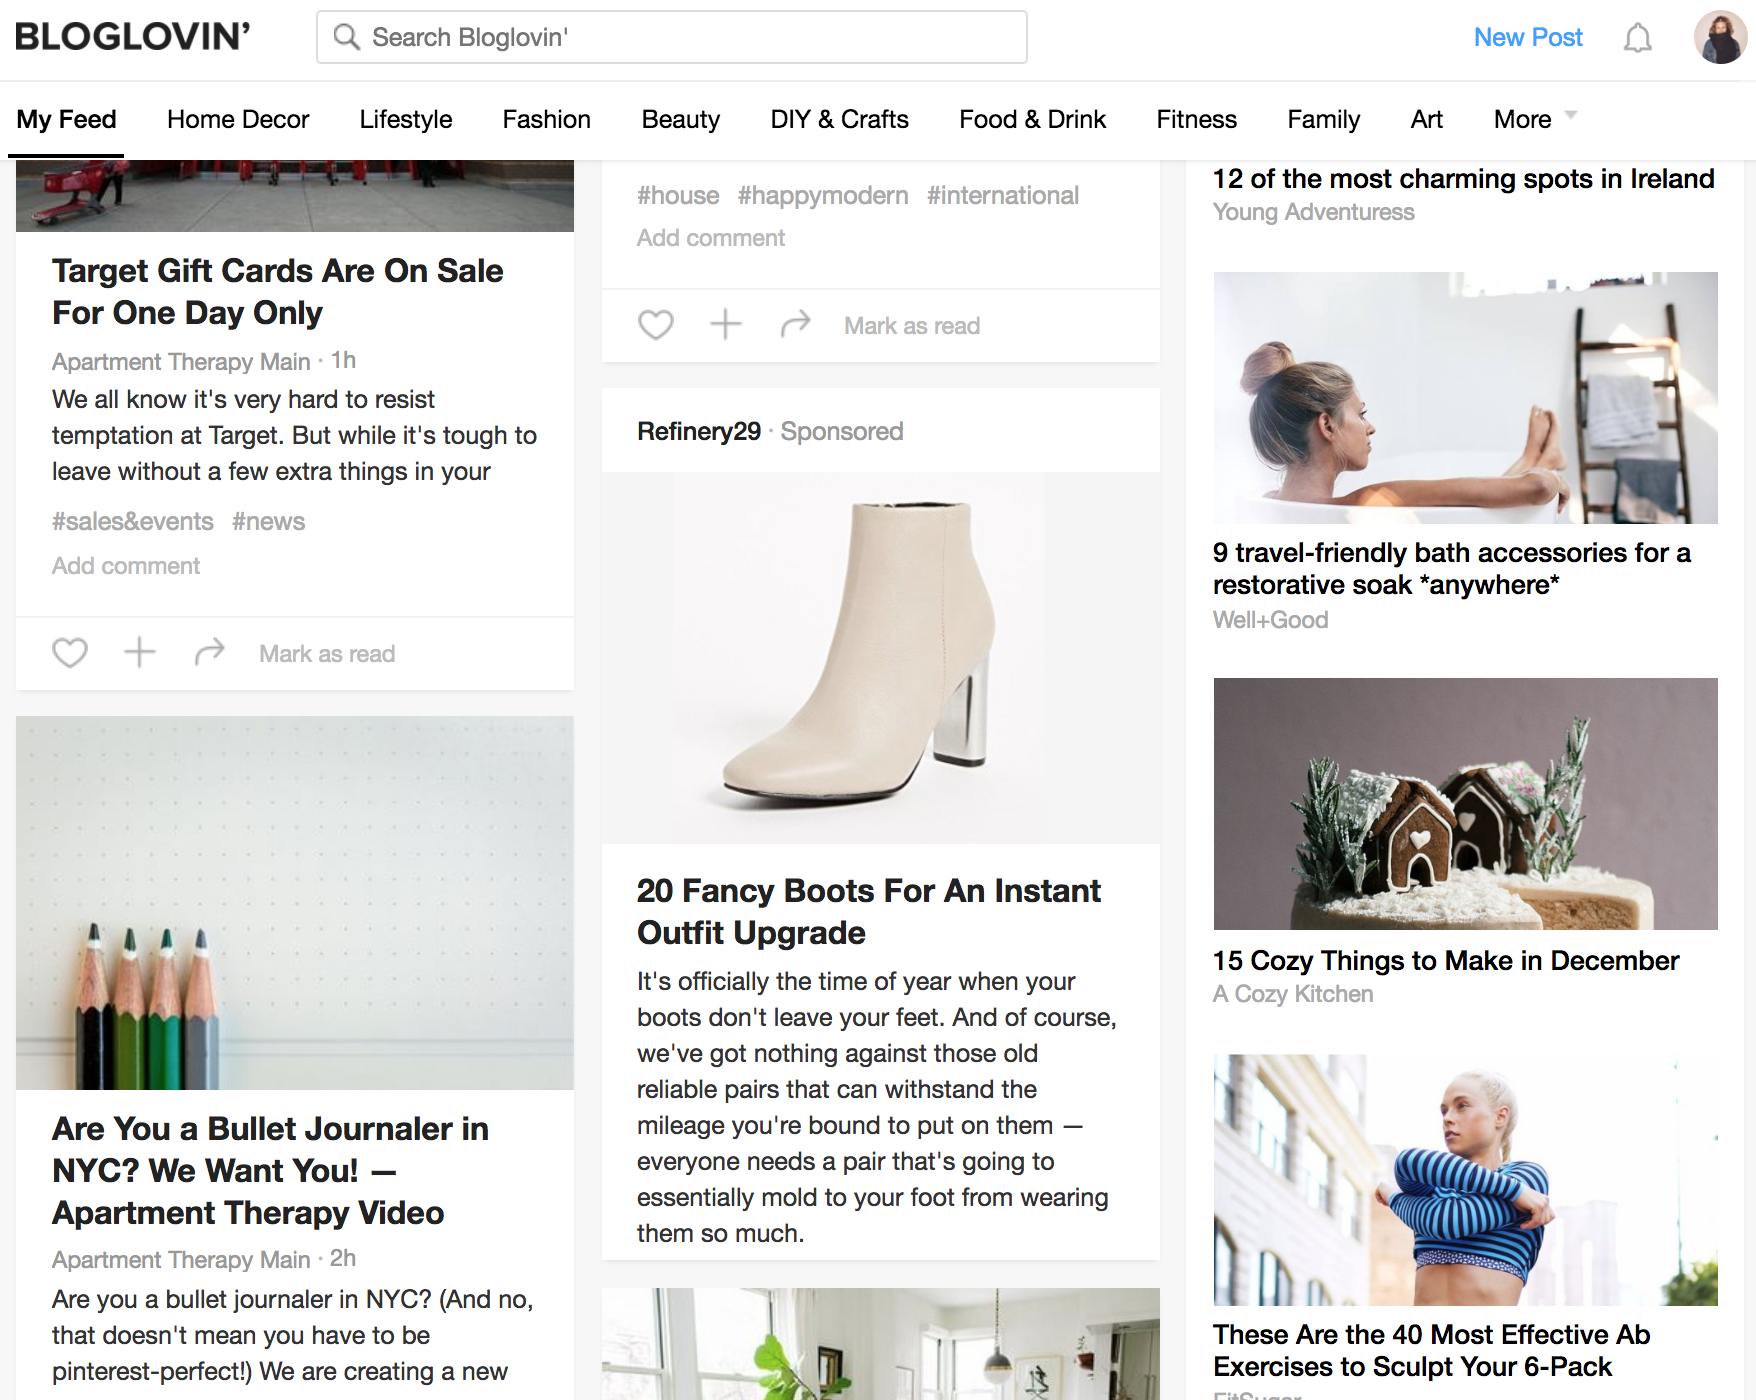
How To Get More Followers On Bloglovin
Bloglovin is a feed for all your favorite blogs.
It works like Instagram where the people you follow posts come up in your feed.
Bloglovin is a great way to drive traffic. What’s nice is it’s automated. When you post on your WordPress blog, bloglovin posts it as well.
We’re going to link up Bloglovin and then I’m going to show you how to get a shit ton of bloglovin followers and drive traffic using an Imacro bot I wrote.
First go to Bloglovins home page – https://bloglovin.com/
Sign up.
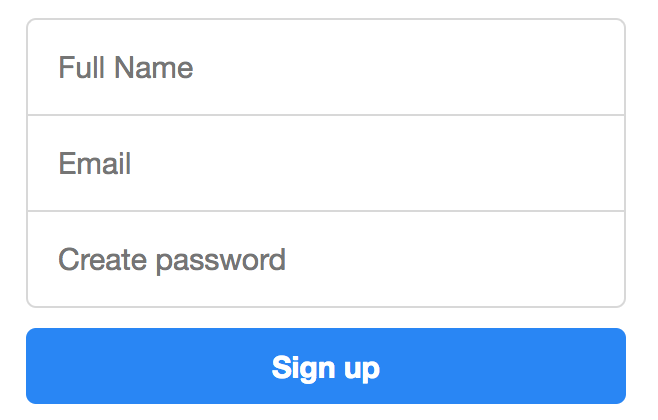
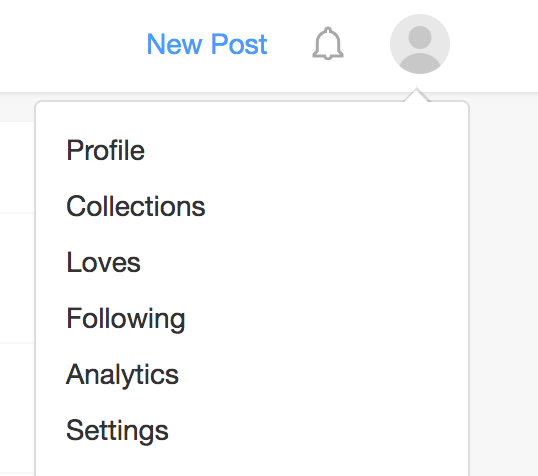
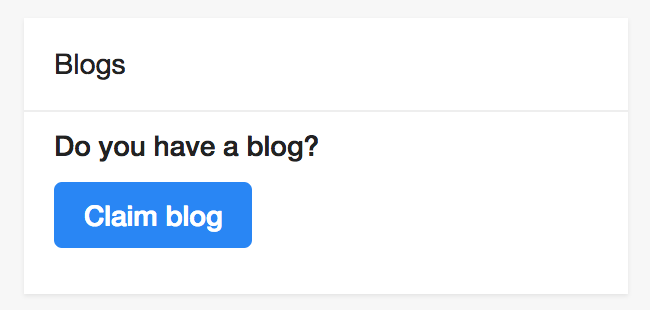
Once you’ve signed up you’ll need to claim your blog. Go to settings.
Then click Claim blog.
Then paste your homepage url.
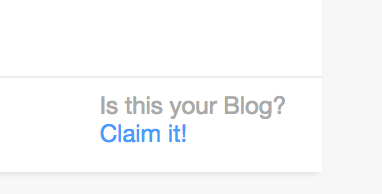
Then click Claim it!
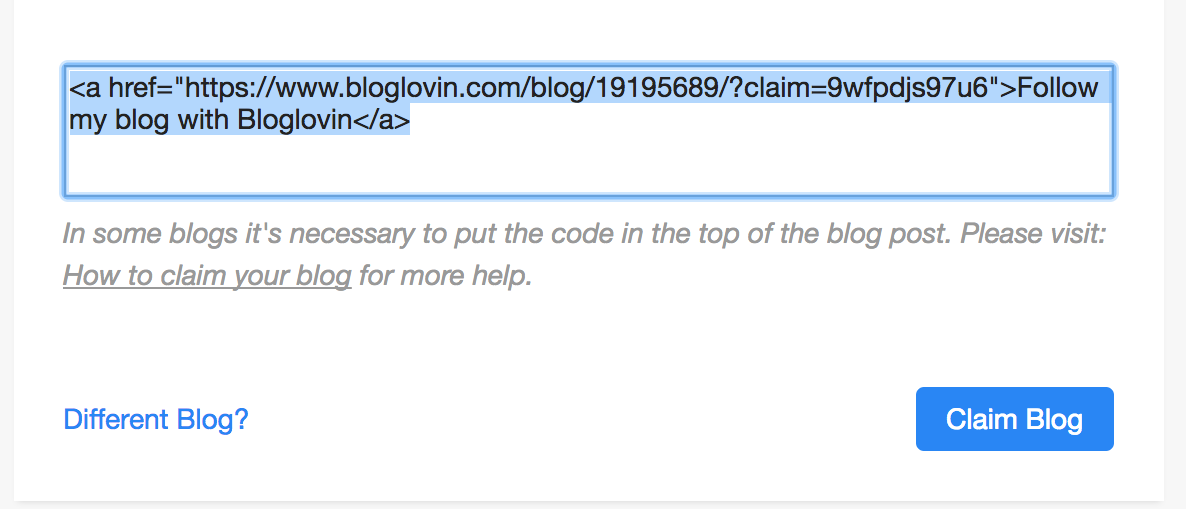
Then copy the link it creates and paste it into a new post. It can be at the bottom of a recent post as well.
Then copy the link it creates and paste it into a new post. It can be at the bottom of a recent post as well.
At this point your blog will be live on bloglovin.
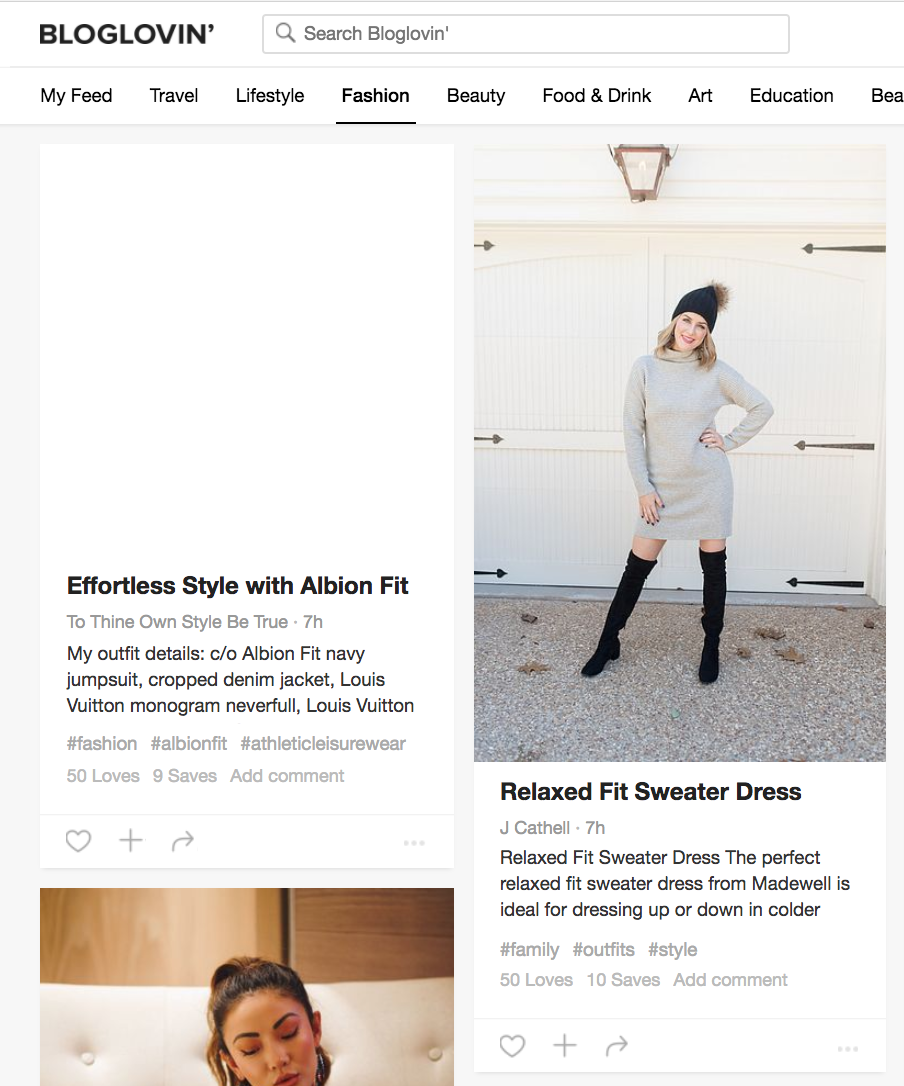
Next go to the homepage of Bloglovin an click fashion.
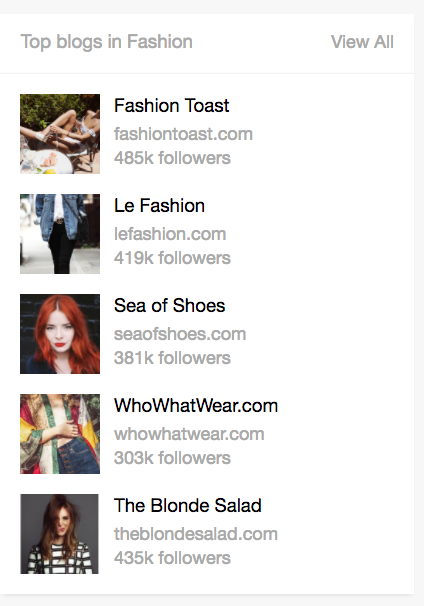
Under Top blogs in Fashion click one of the blogs.
Then click the followers button.
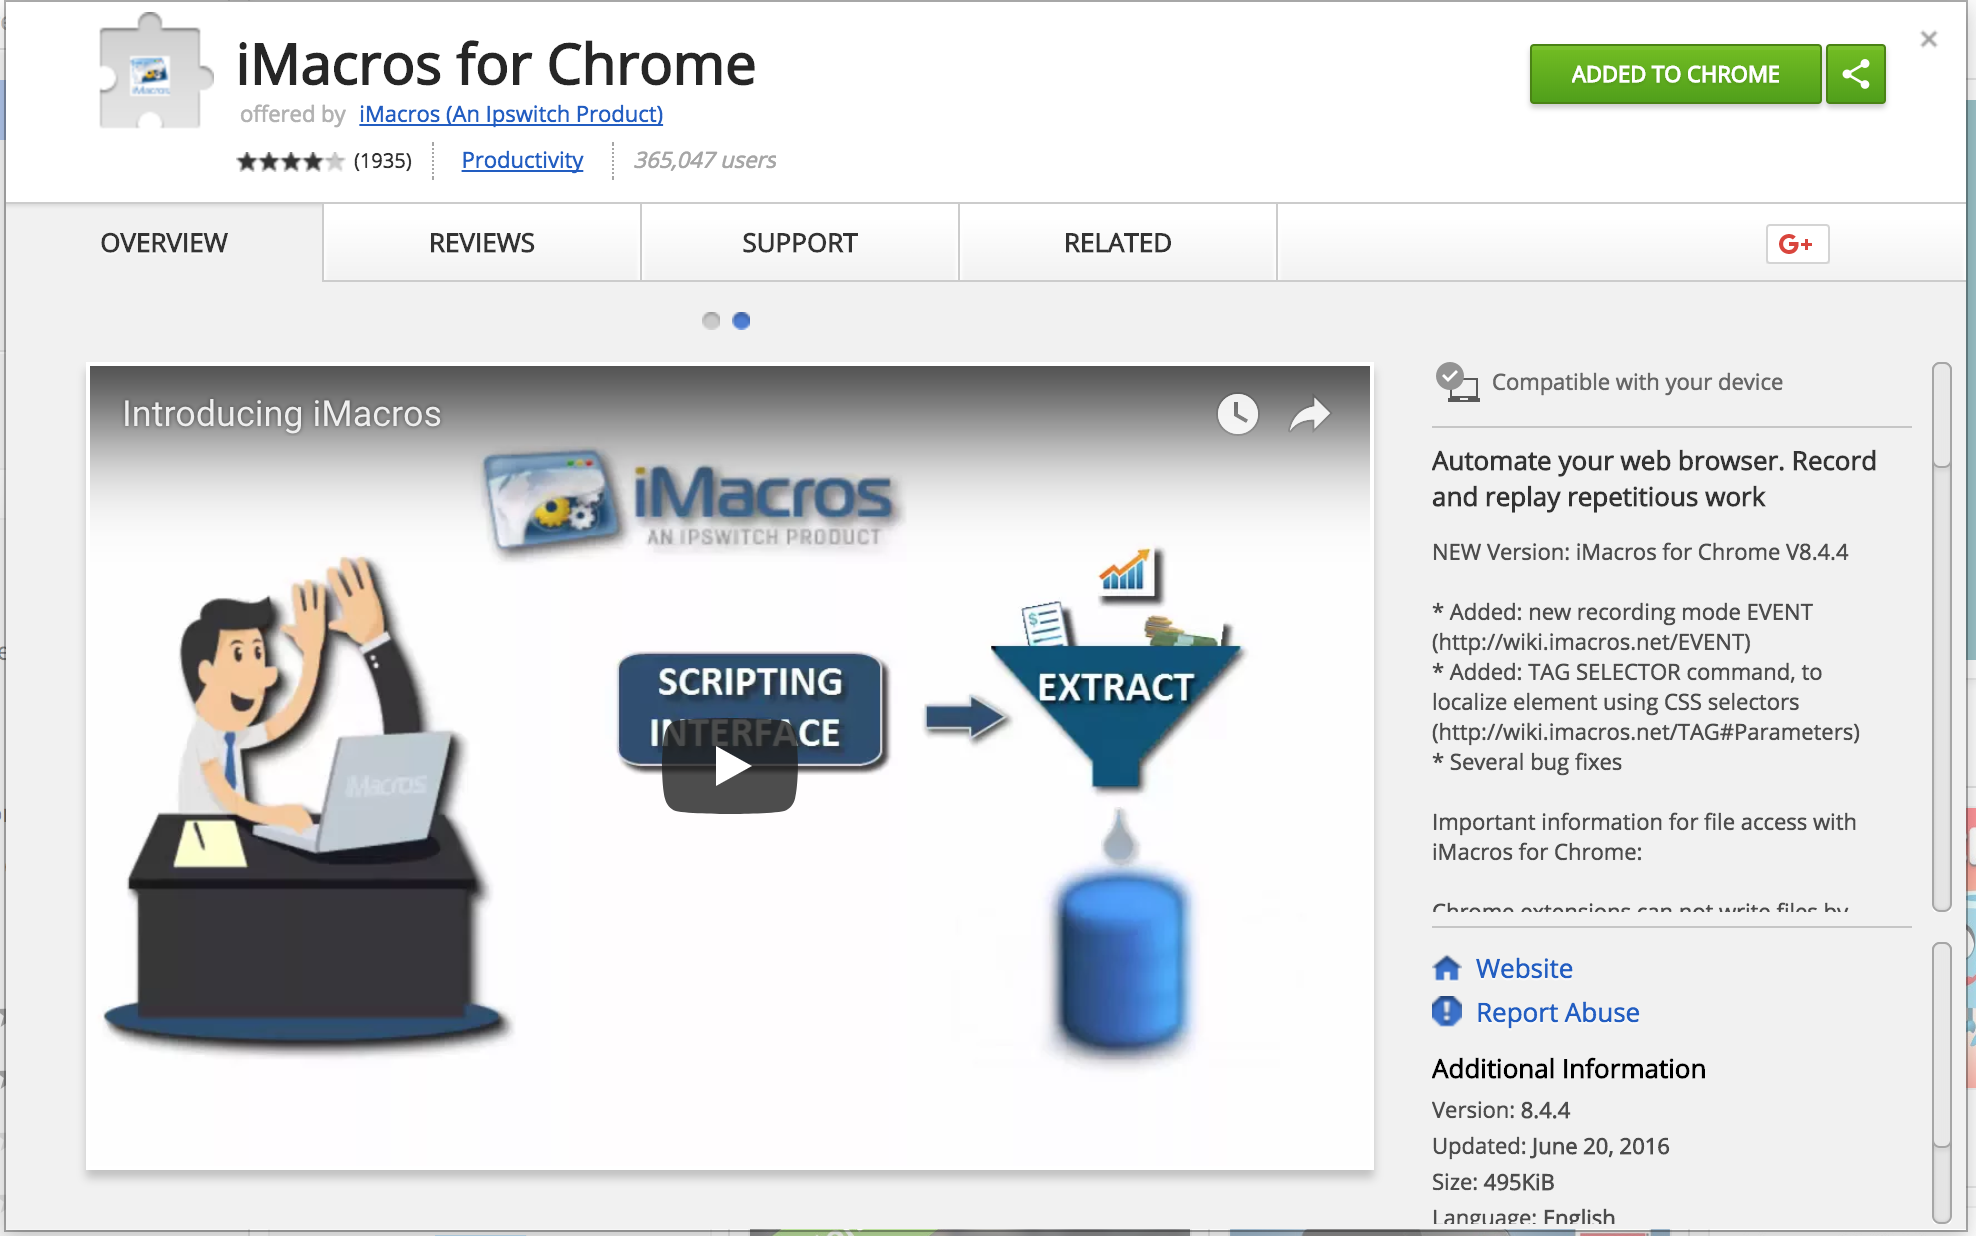
For the next step you need to be on Google Chrome. Go to the following link and click add to Chrome – Imacros For Chrome
An extension is like a little program that adds features to Chrome. This extension allows us to automate the task of following people on Bloglovin so that we can mass follow users. Bloglovin will allow you to follow 5500 people and then you’ll have to unfollow them. This will garner you follows and in turn drive traffic to your site with every post you make. For example, you only need about 150 followers to get 5-7 views per blog post.
Once installed click the little button in the top right corner of Chrome.
Then click record > record macro.
Then click stop.
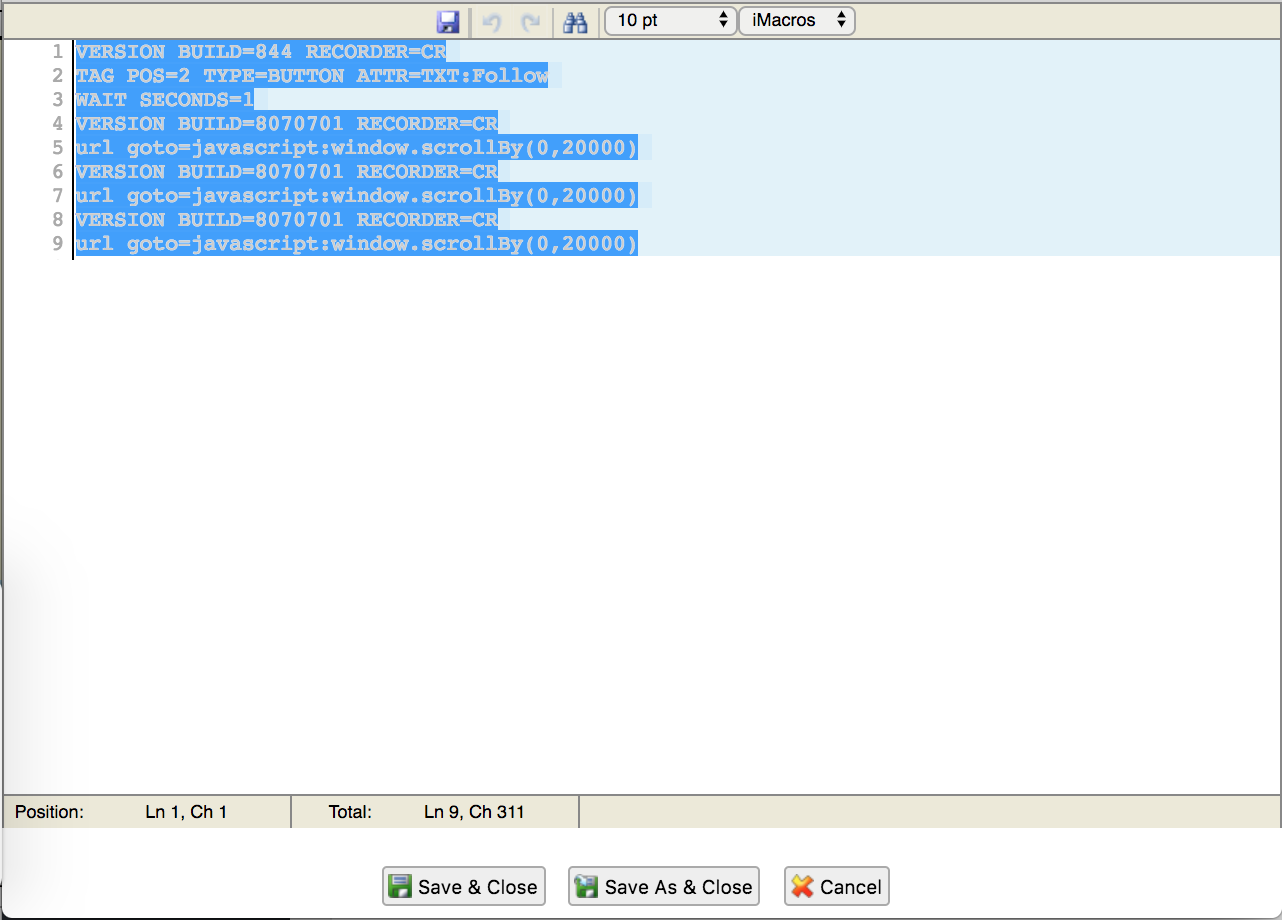
You’ll then delete everything from this window.
And paste the following code into the window.
VERSION BUILD=844 RECORDER=CR
TAG POS=2 TYPE=BUTTON ATTR=TXT:Follow
WAIT SECONDS=1
VERSION BUILD=8070701 RECORDER=CR
url goto=javascript:window.scrollBy(0,20000)
VERSION BUILD=8070701 RECORDER=CR
url goto=javascript:window.scrollBy(0,20000)
VERSION BUILD=8070701 RECORDER=CR
url goto=javascript:window.scrollBy(0,20000)
And click Save As & Close and name the new program as Bloglovin Follow.
Show you how make money off your fashion blog, get free stuff, get payed to post on your fashion blog and drive affililate traffic rstyle.me
show you how to make money off your fashion blog, get free stuff, get payed to post on your fashion blog and drive affililate traffic rstyle.me


